Showing posts with label weaving. Show all posts

Saturday, December 31, 2022

Warping Back to Front, for PHG Workshop

Herewith follows a short pictorial on warping a loom back to front, up to just before threading.

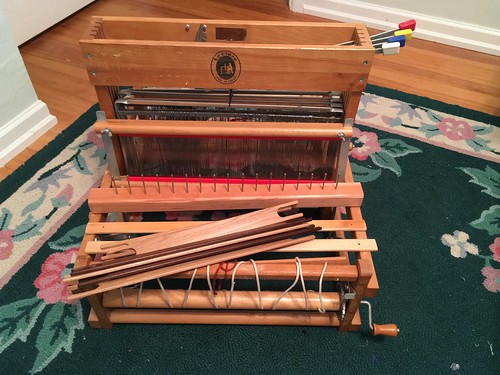
The loom is a Leclerc Dorothy, quietized by replacing the side levers and shaft lock with flippy levers.
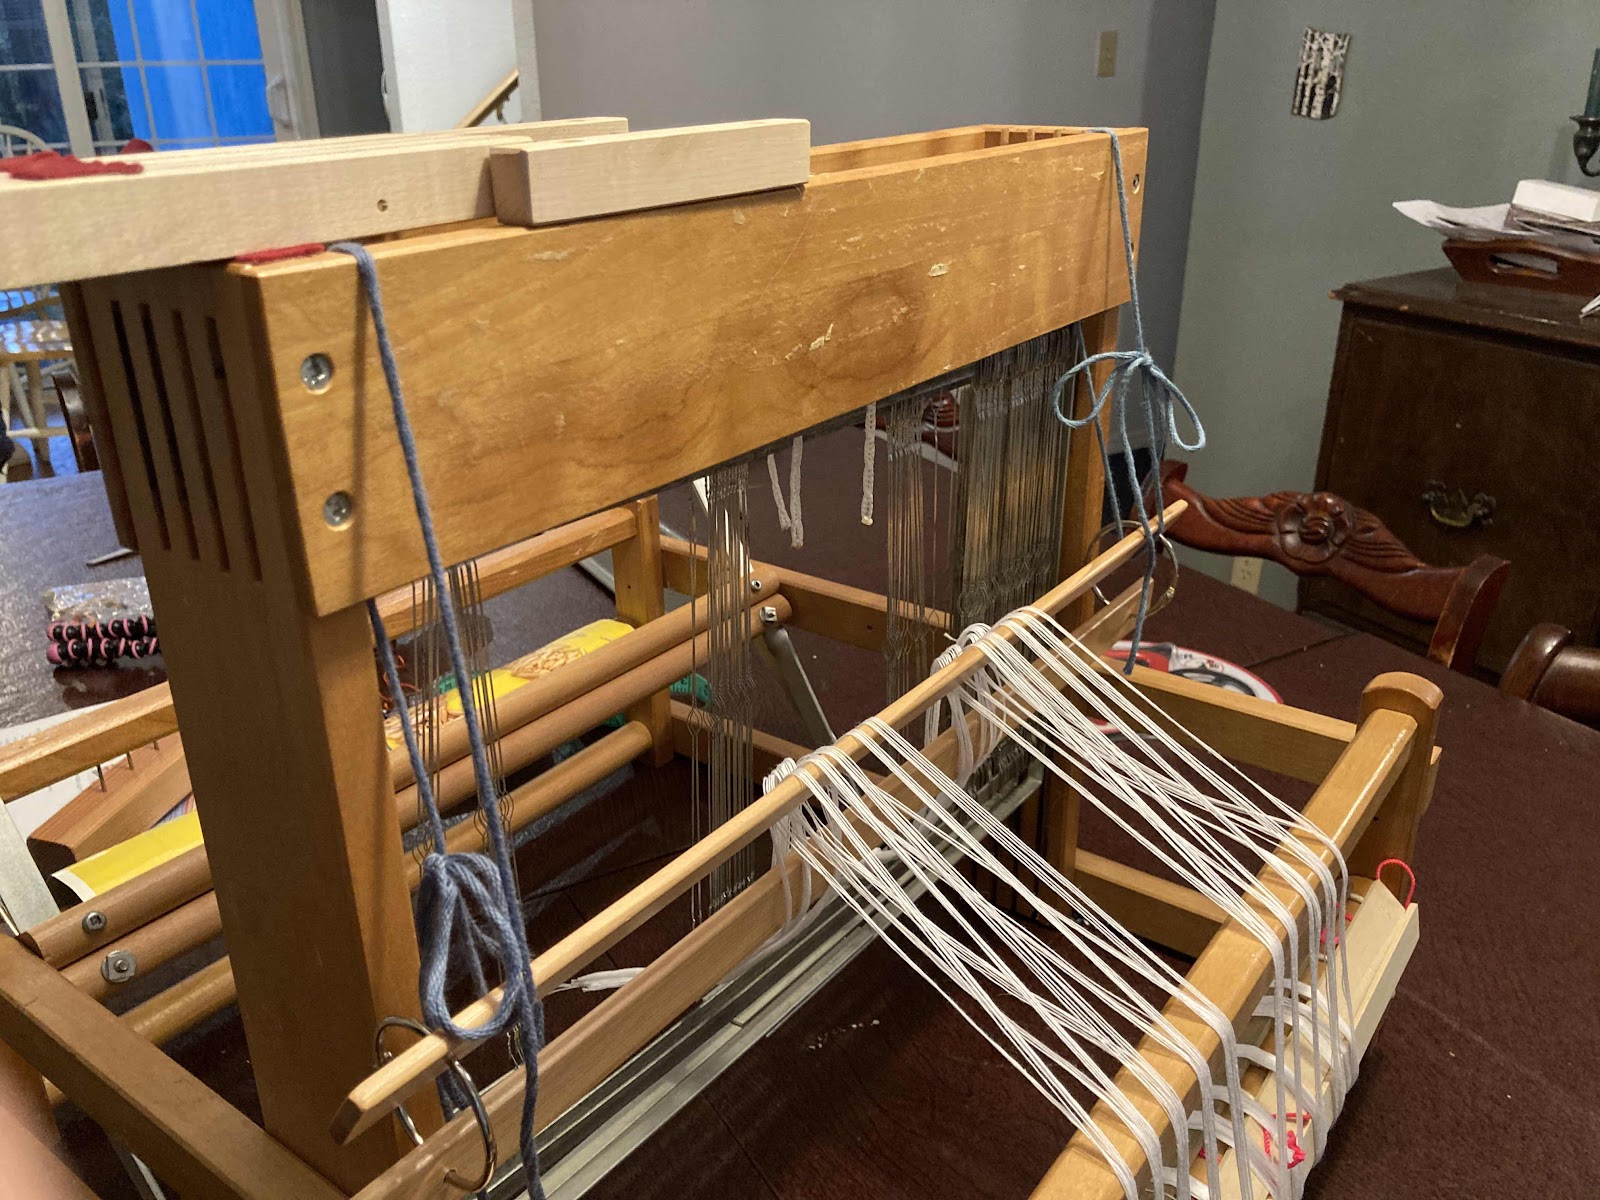
The warp was to be 103 ends, 1 yd long.  I wound the warp twice as long, placing a cross at both ends.

The SMART weaver (which I wasn’t yesterday) would put the counting thread (or tie a knot around each bundle at the turning peg) in units of the raddle spacing. My raddle for this loom has 1” spacing; the sett for my choice of warp yarn is 12 epi, so I should have put in a knot or counting thread every 12 threads.

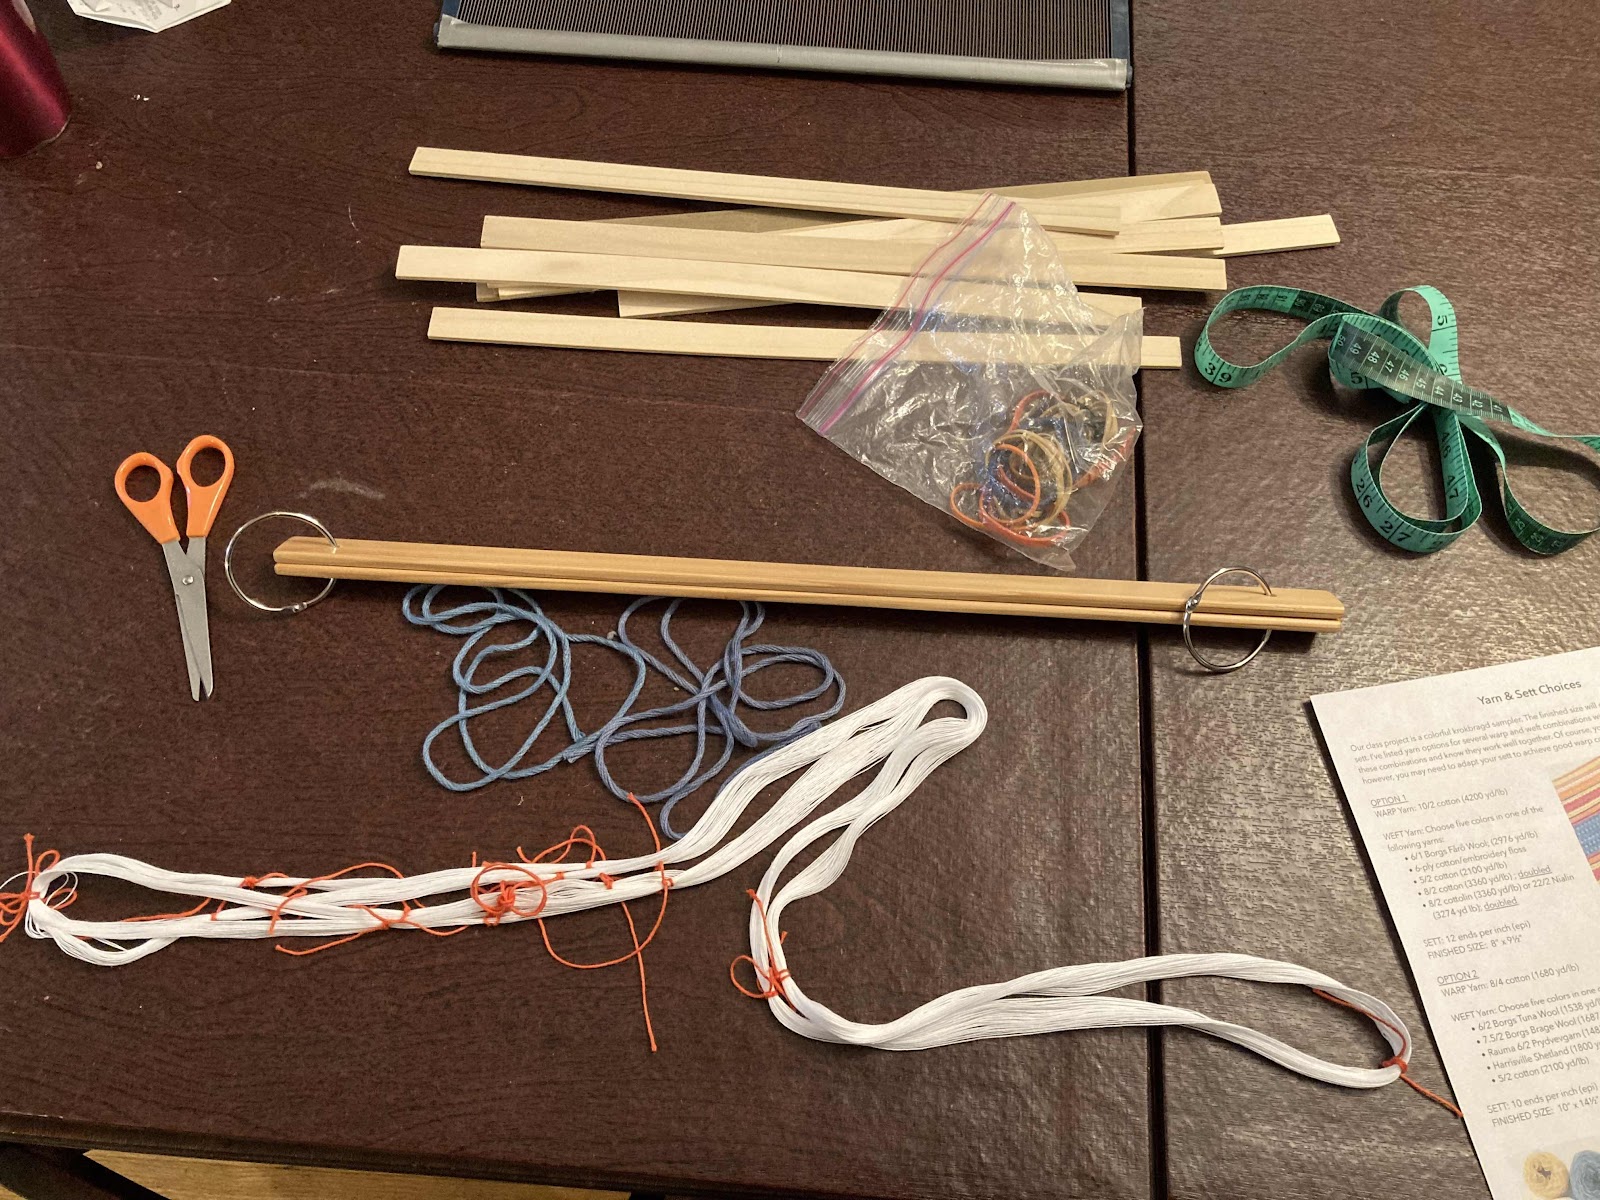
Here I am getting started, with useful things: scissors, cord, lease sticks, the warp, measuring tape, warp sticks (brown paper or a cereal box/cardboard also works well), and the instructions.

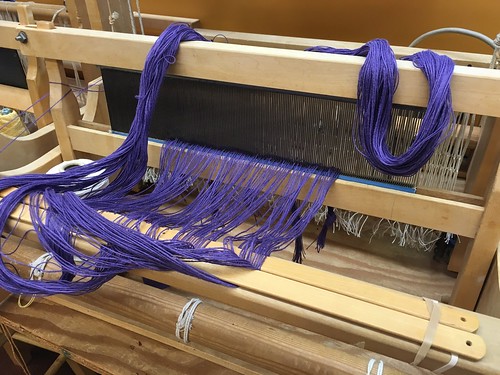
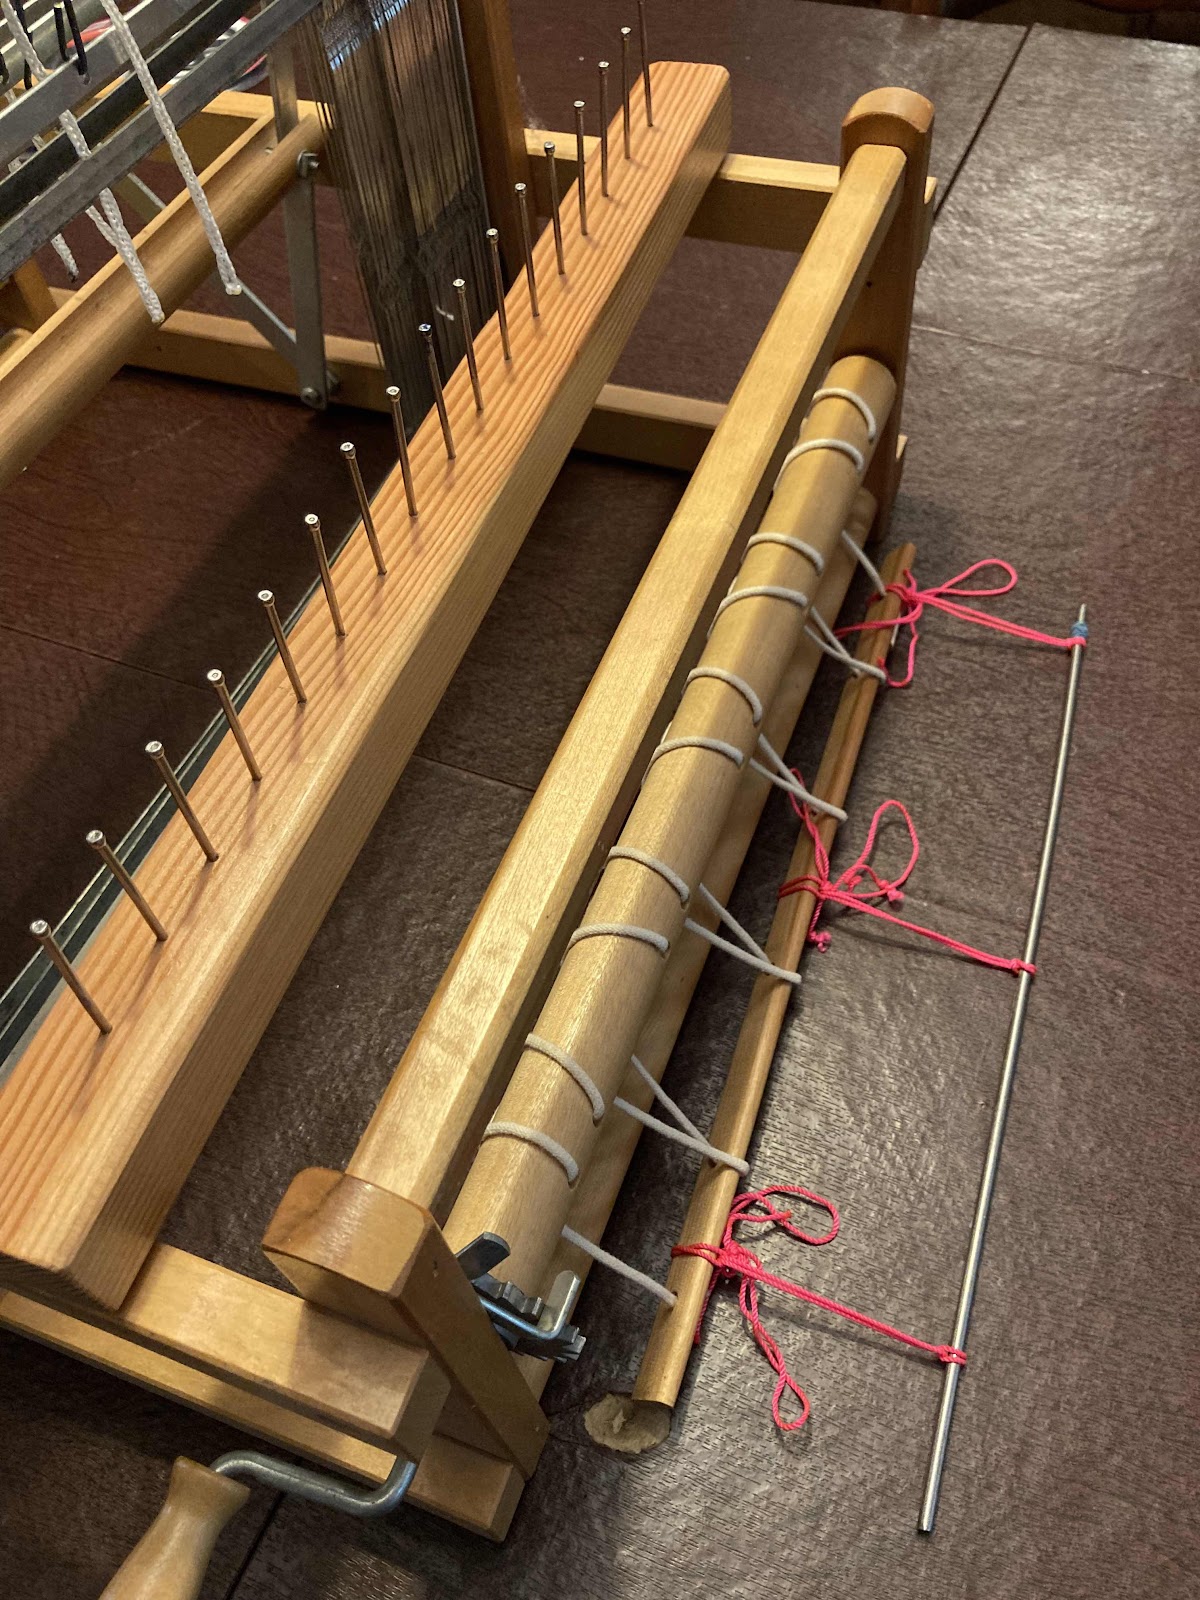
The raddle at the back of the loom.  I use rubber bands to secure it to the back beam.  The warp stick (metal) awaits the warp.

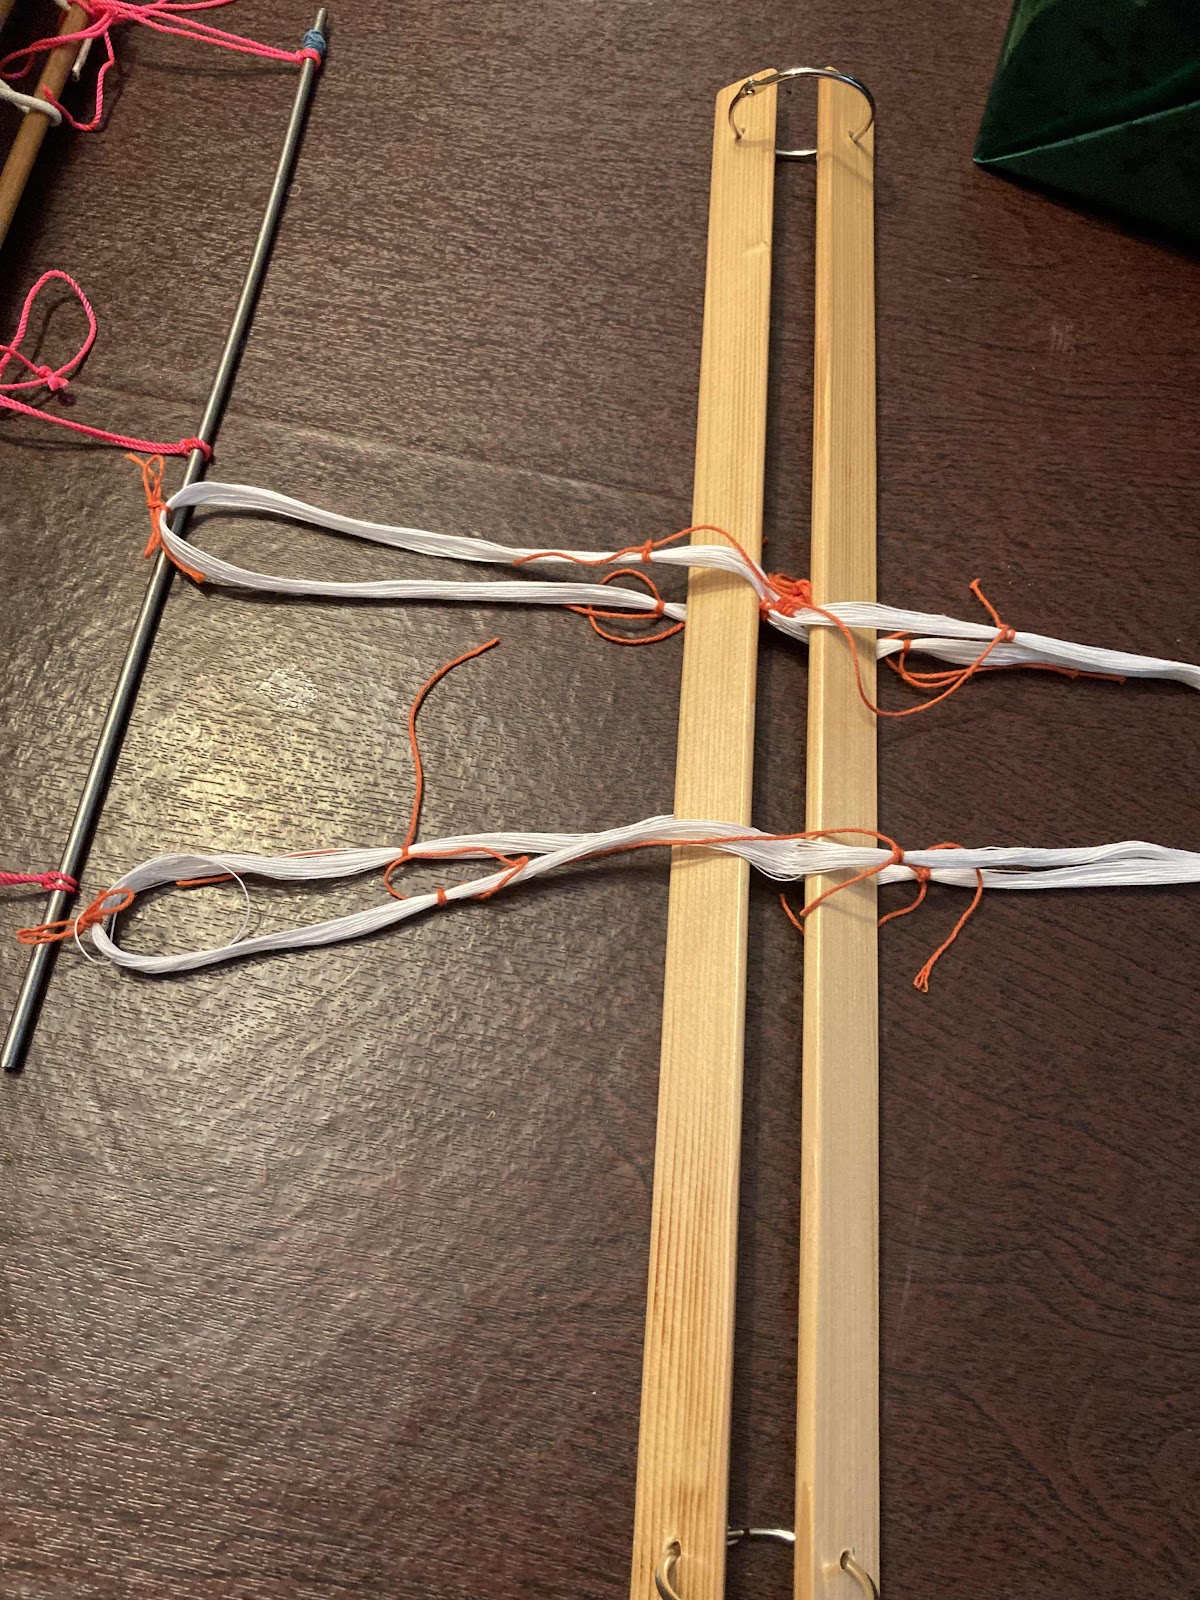
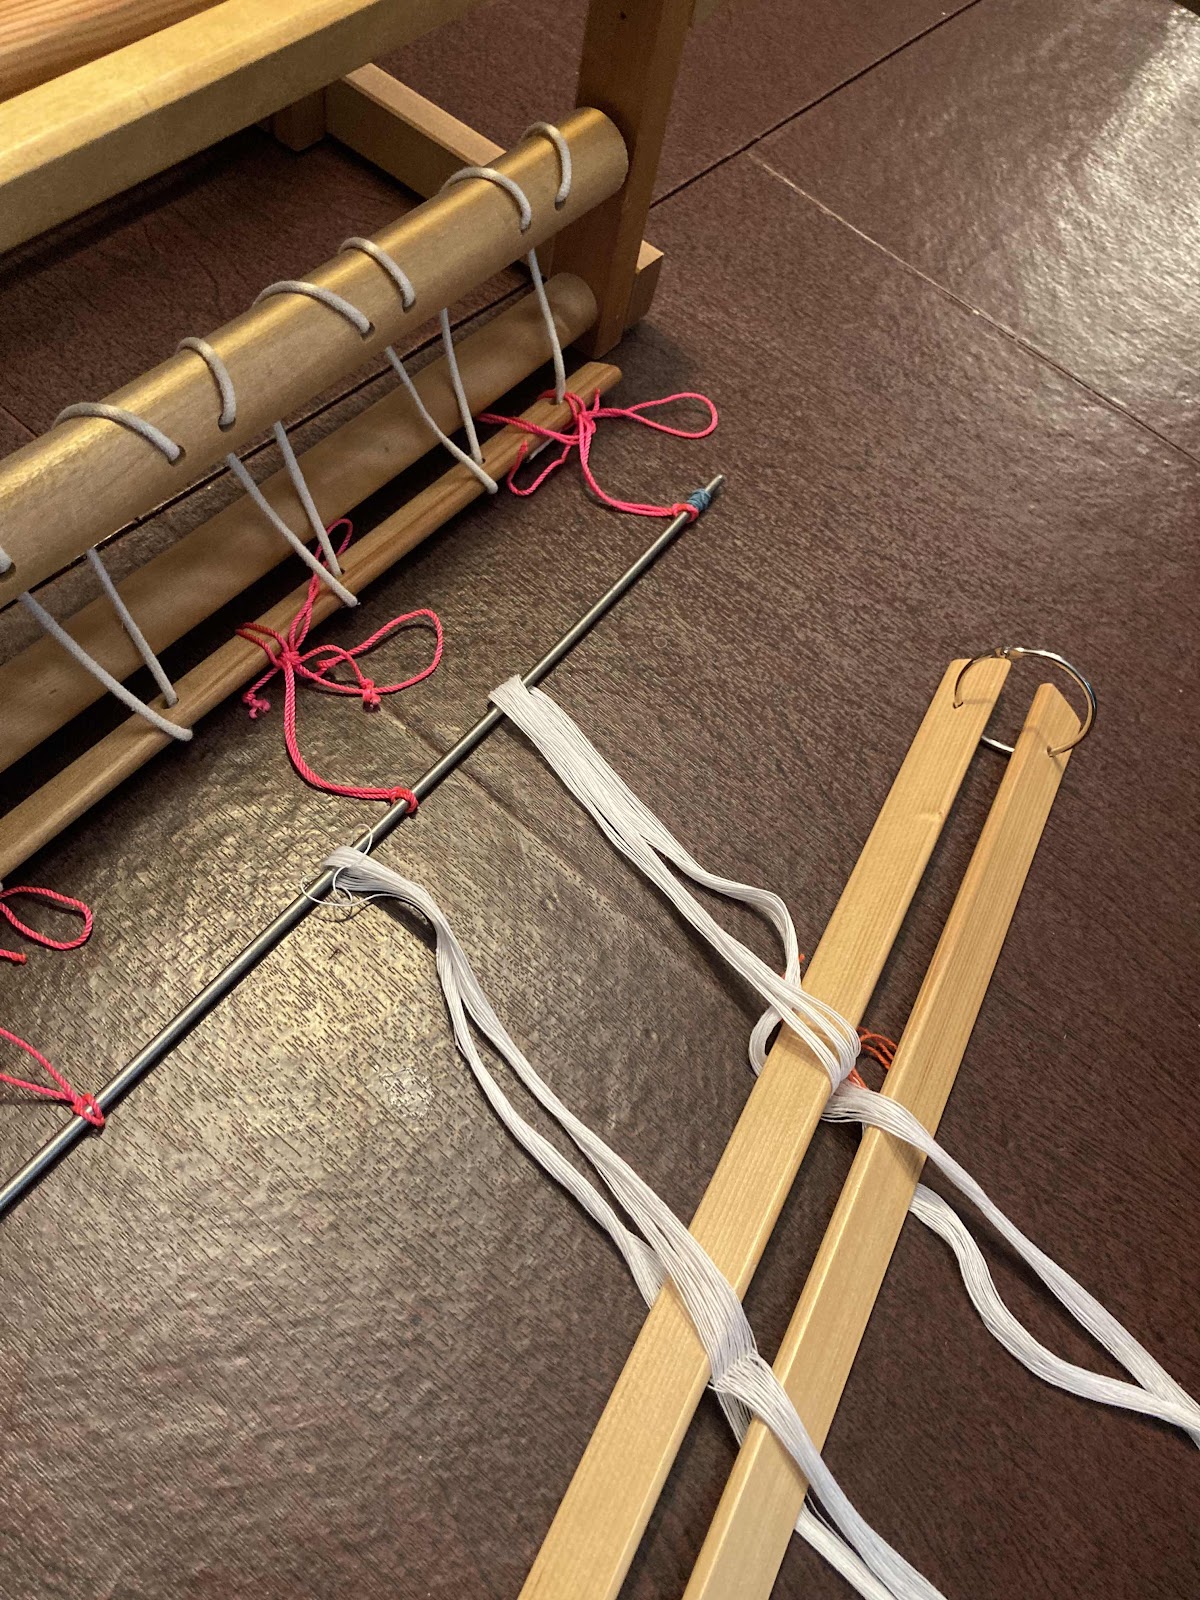
Here’s the warp in the lease sticks, ready to go on the warp stick.

Warp is on the warp stick, all the ties have been removed.  I then flipped the whole assembly up, with the warp now coming out the front of the loom.  I also tied the lease sticks to the castle, so they’d stay put when beaming.  There are many ways to do this; they all work (as in how one secures the lease sticks)

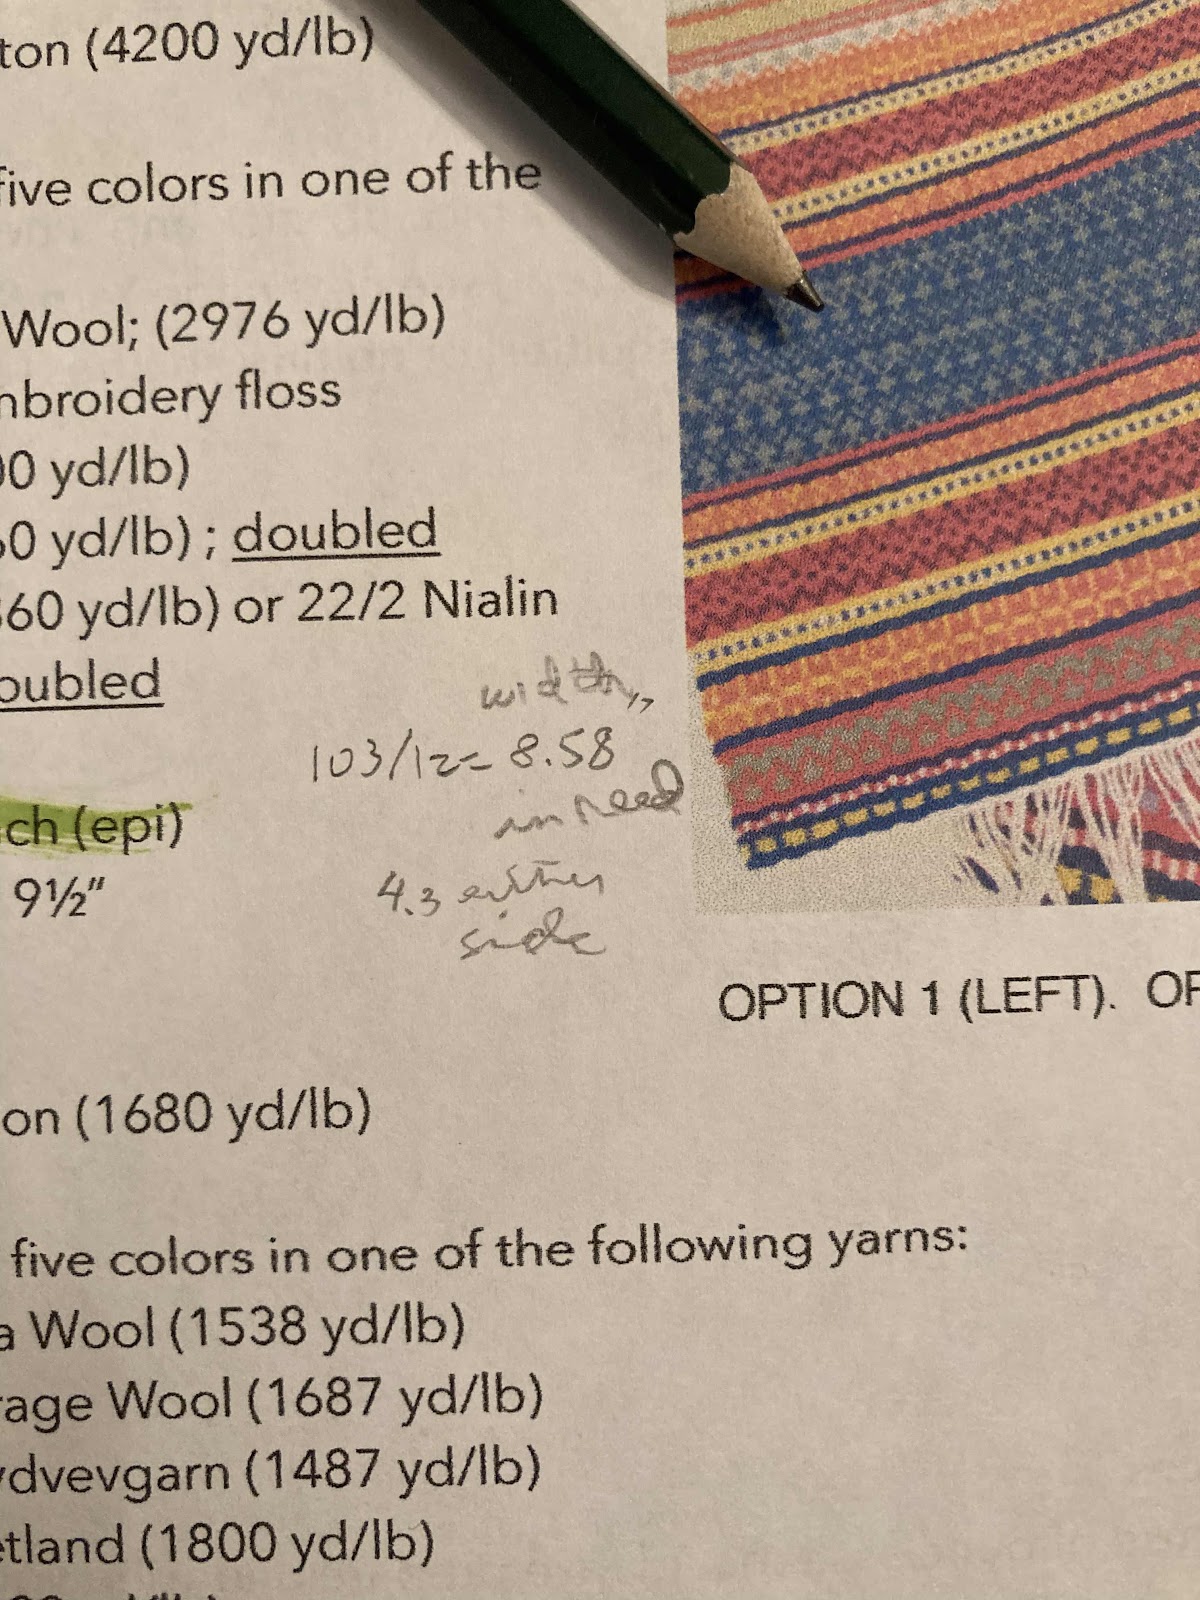
Brief pause for calculations - width in reed, to work out raddle spacing.

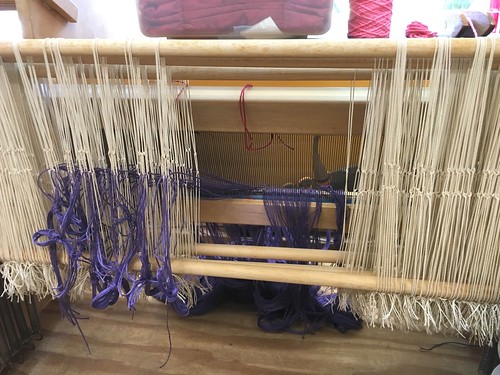
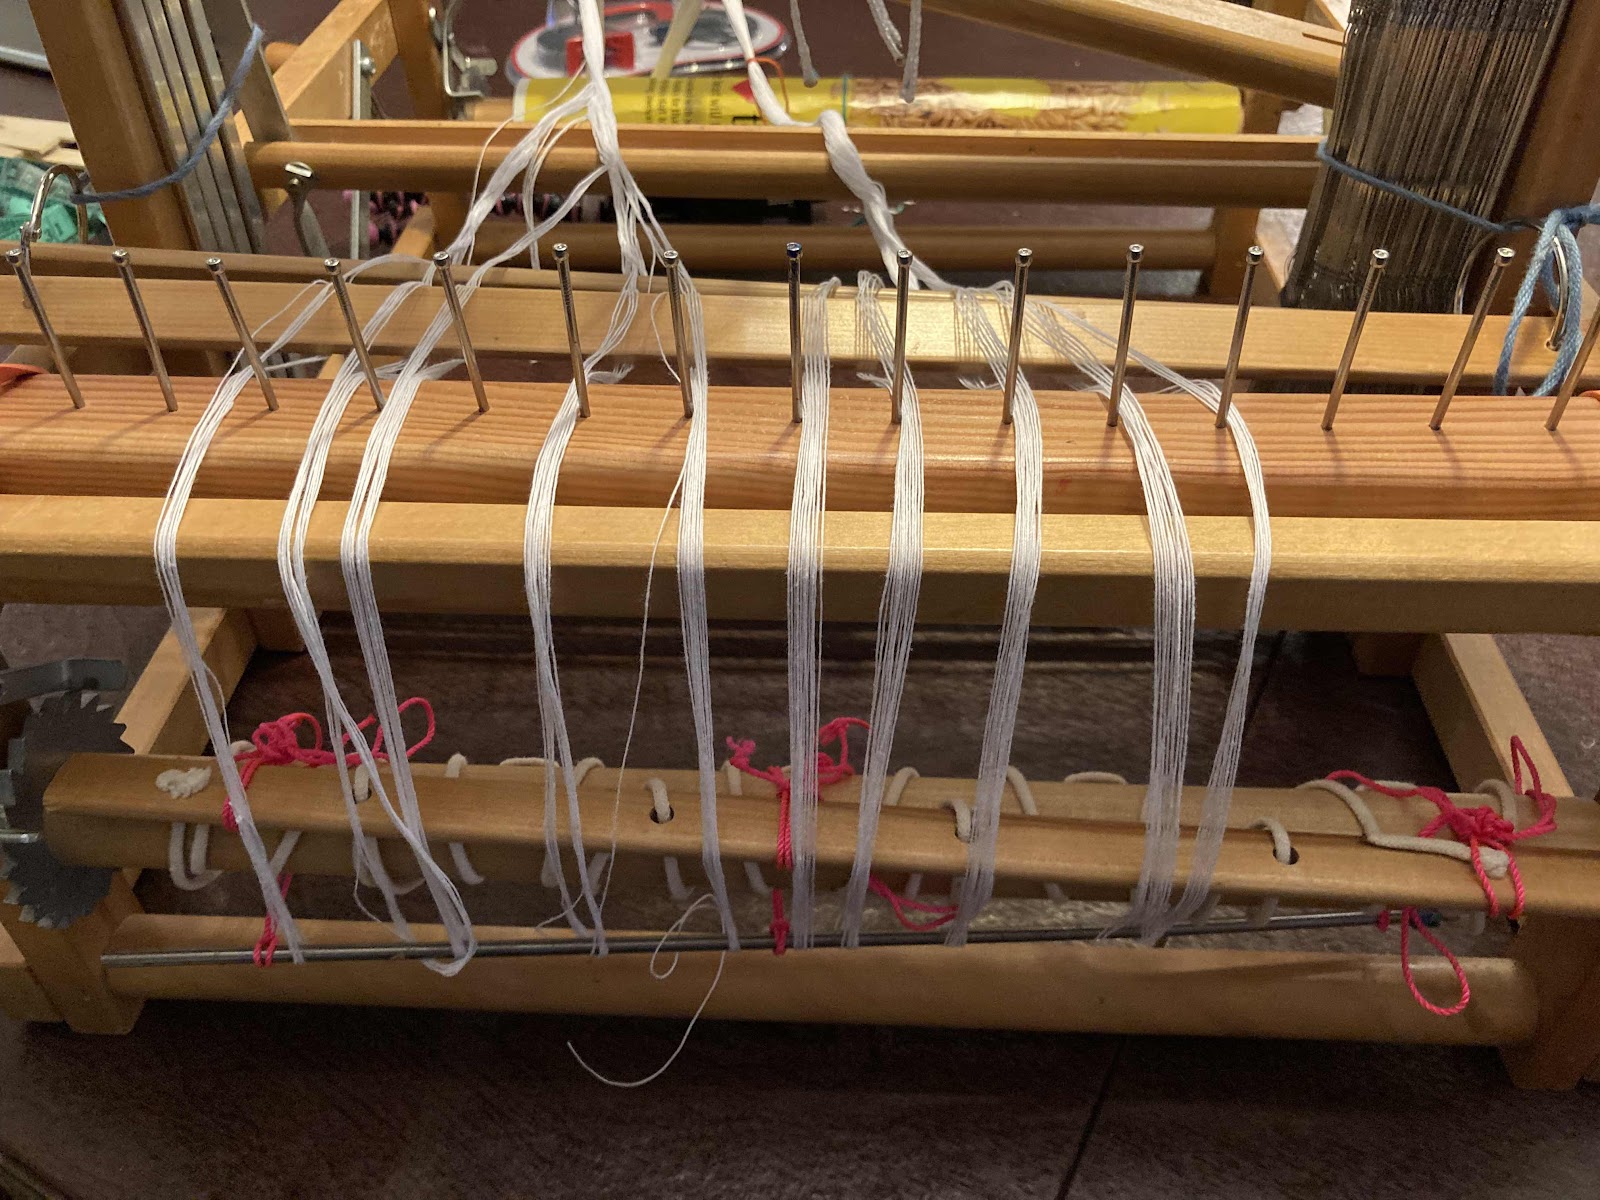
The warp is spaced out in the raddle.  As the warp was wound twice as long, I essentially had 2 bouts, and started spacing out 12 ends per raddle dent from the middle.  This is where the thinking ahead of using a counting thread in raddle thread count units pays off.  I had to count threads.  Not hard, and there’s only 103 of them, but tedious.  You can see the lease sticks secured to the castle.  I also removed the two remaining choke ties, and cut the warp in half; 1 yd each half.

Snugged up the warp a bit and started inserting warp sticks, so as to cover over the bumps from the cords, sticks, and knots on the warp beam.


Beaming on.  I am holding the warp tight from the other side of the castle.  If it was a longer warp I’d use weights.  Continuing to add warp sticks so the entire first revolution of the warp beam is covered.
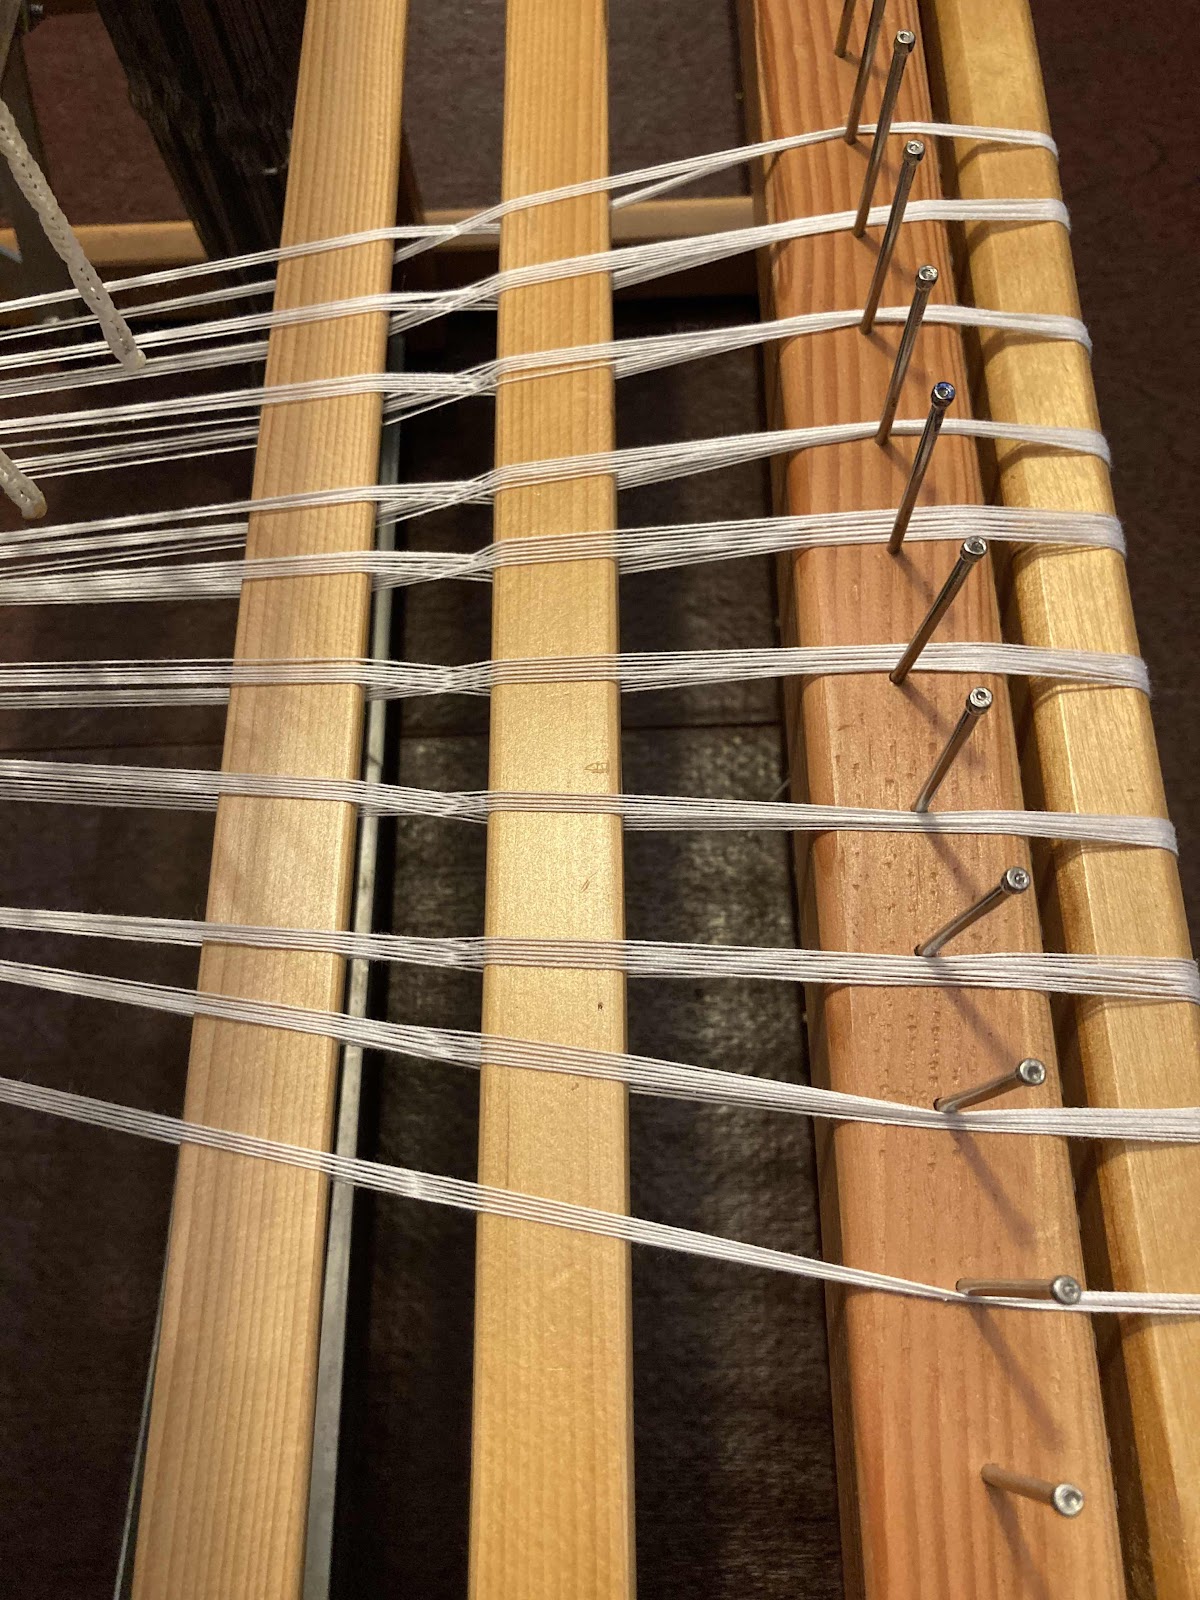

And there we go.  Done.  Tie slip knots in the warp so it doesn’t escape.
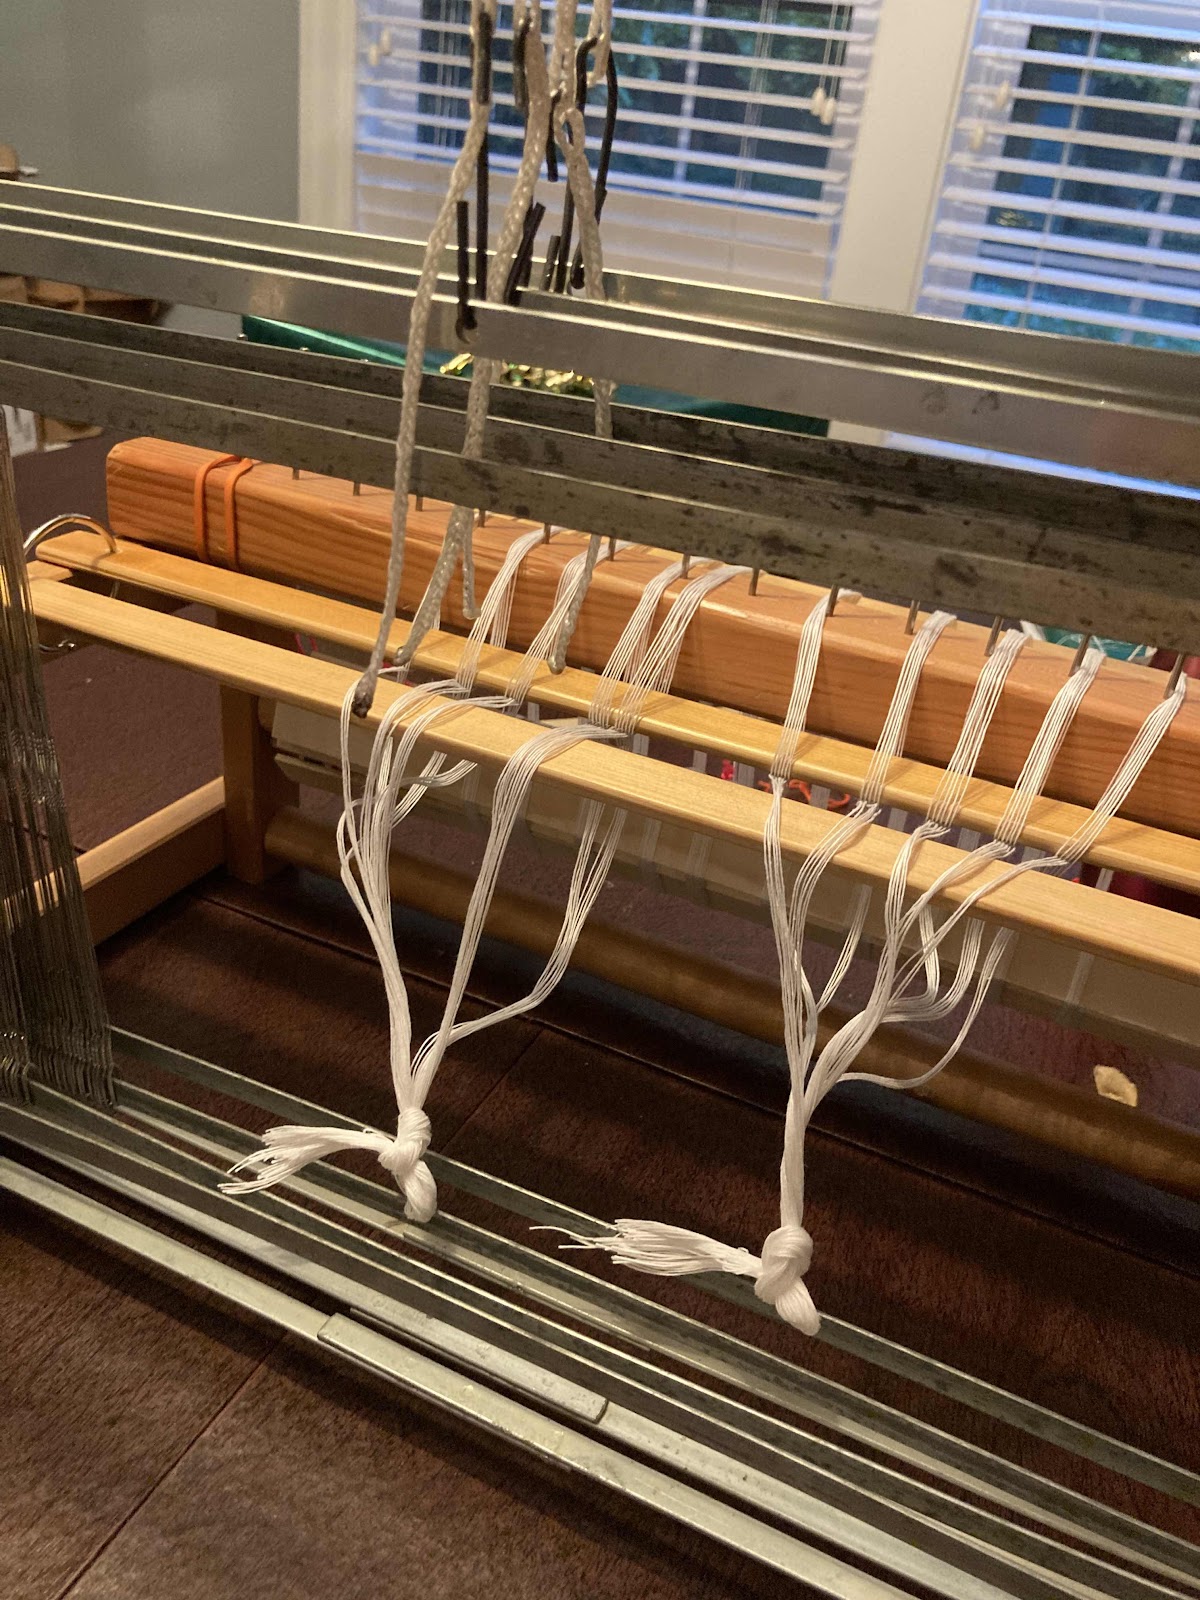

I removed the raddle, and tied the lease sticks up to suspend the warp behind the heddle eyes, for easier threading.
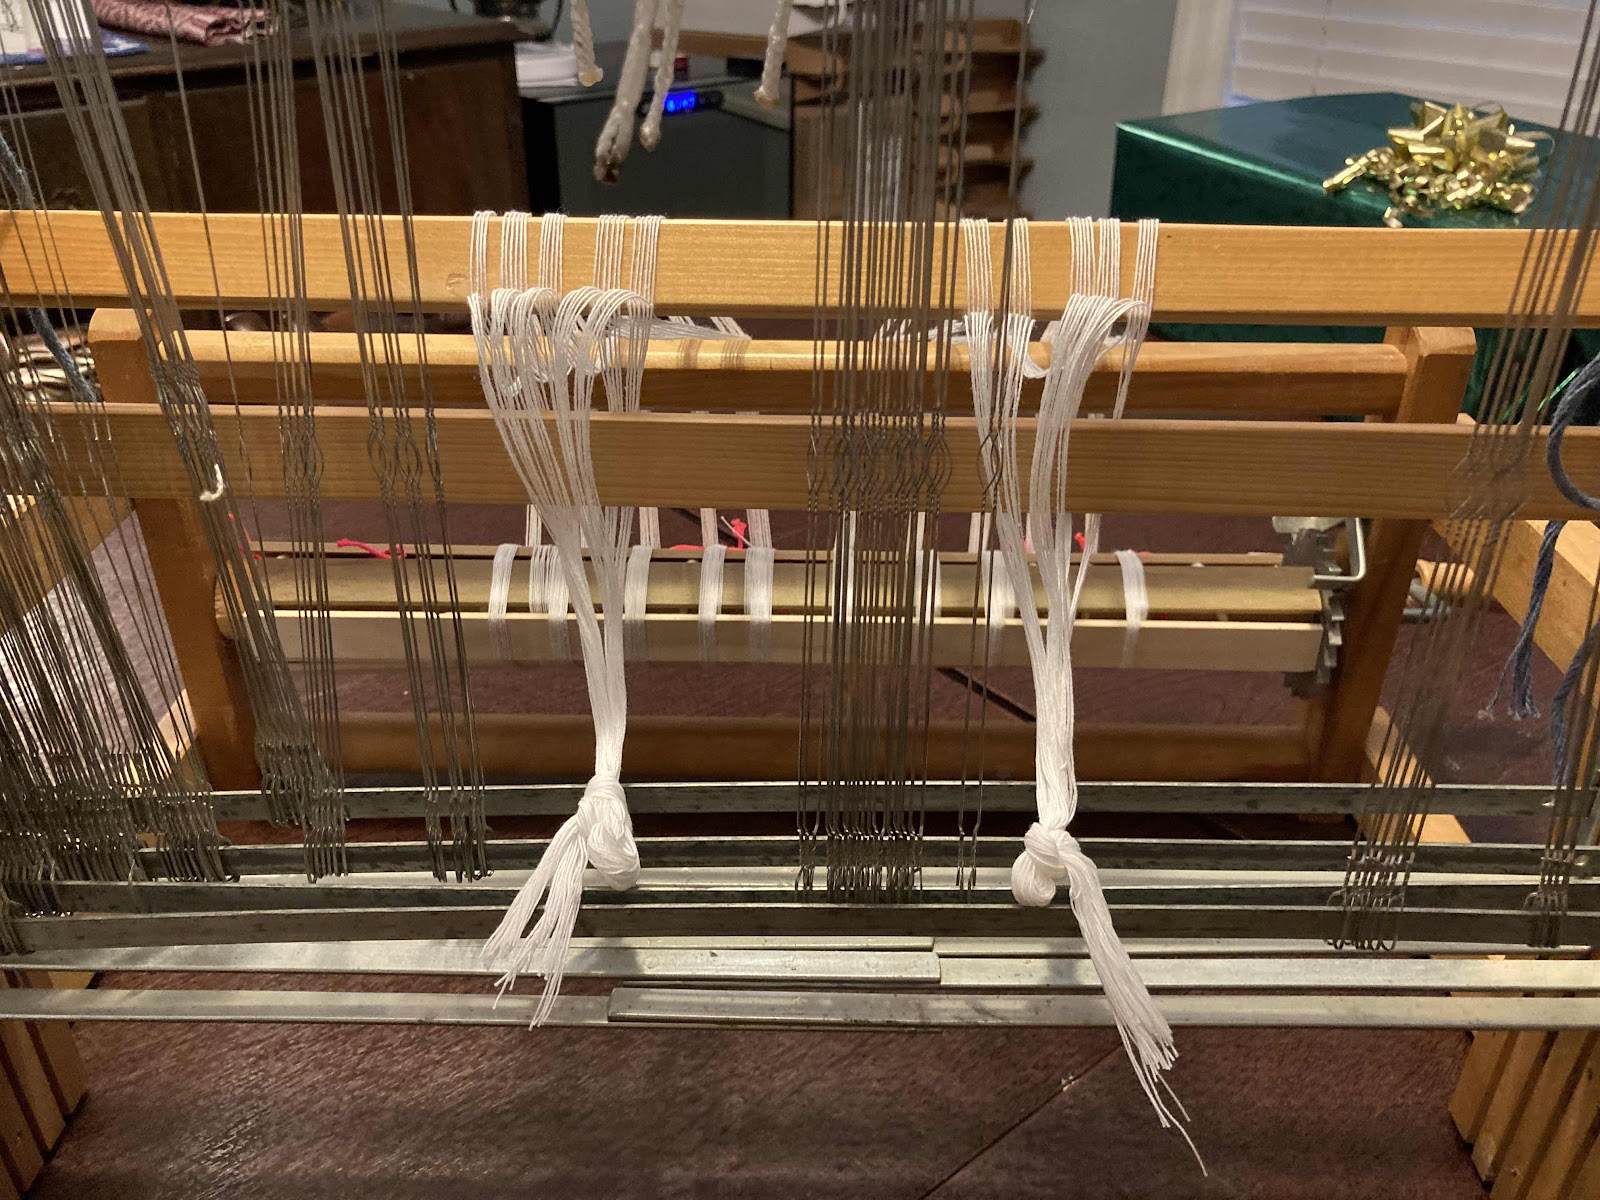

Lease sticks suspended.  Awaiting the workshop with deep anticipation.


Thursday, October 1, 2020

Weaving a Denim Rag Rug, Part 2, Weaving

(it occurs to me that I never followed up...)

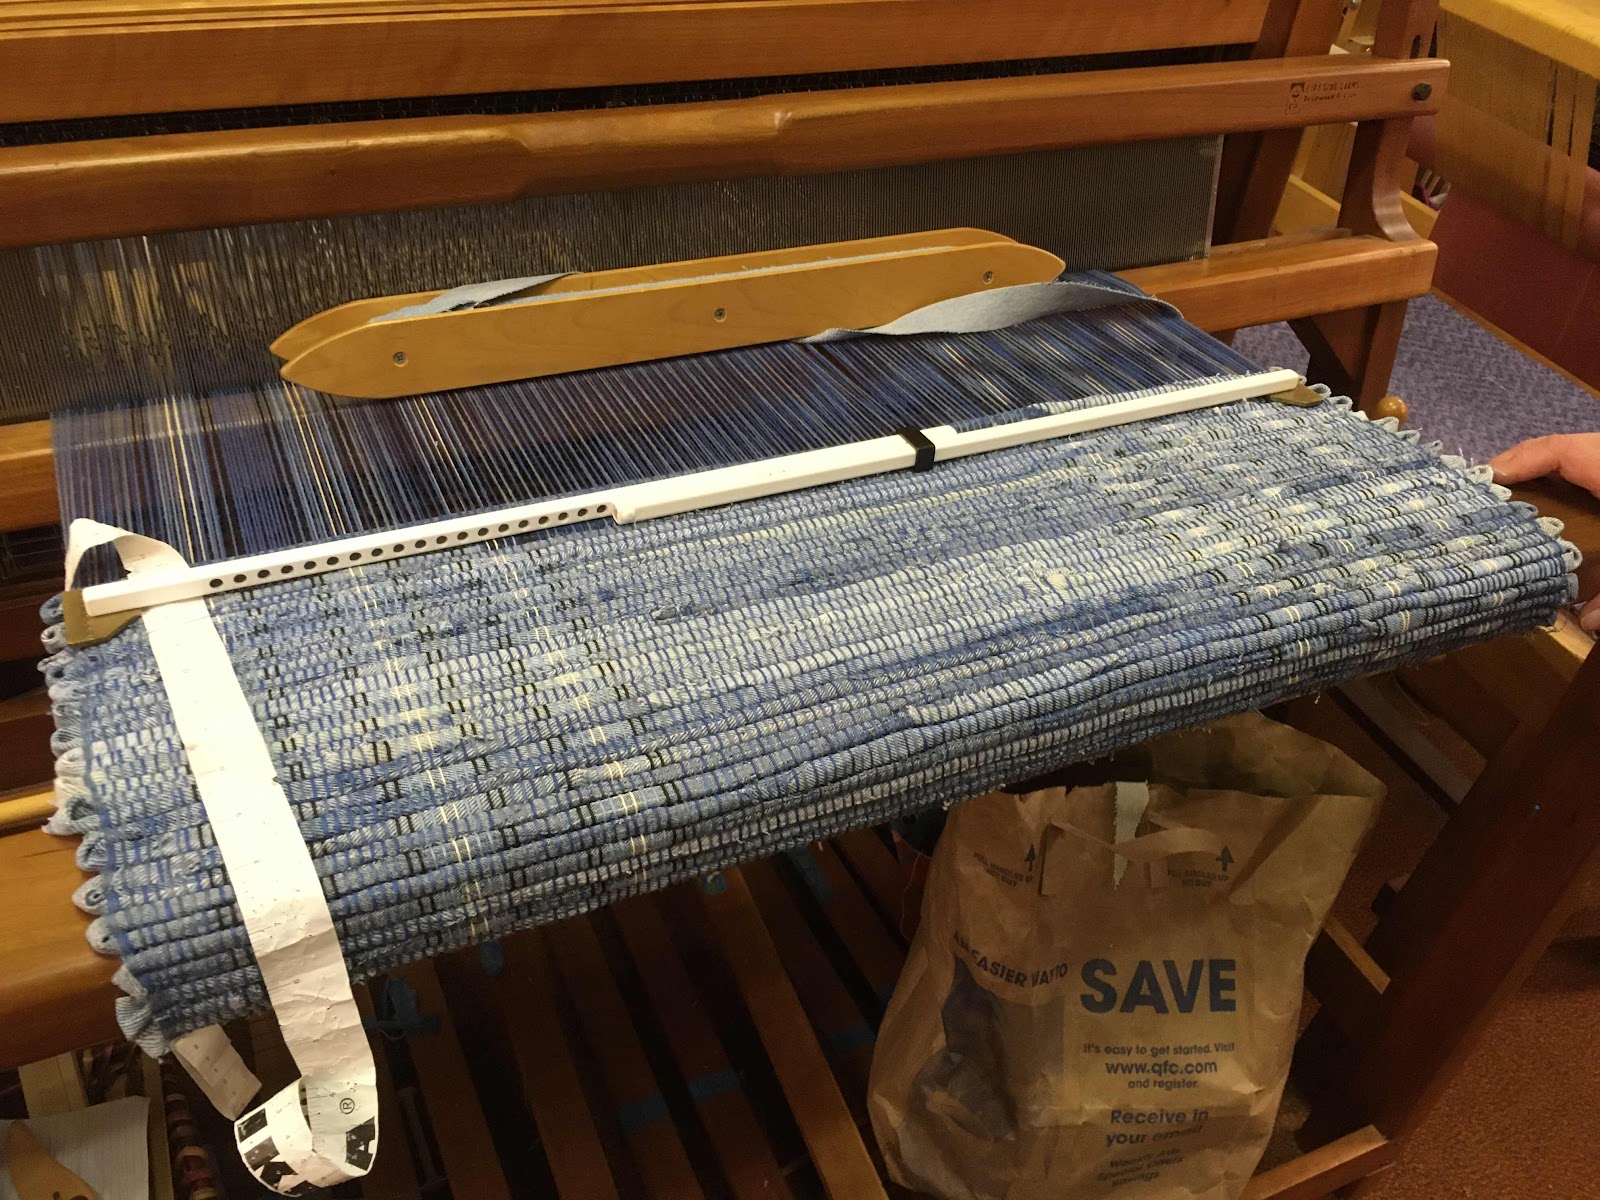
After all that making balls of denim strips, the actual weaving was pretty uneventful.  The warp was rug warp, 10 epi (ends per inch), super easy to thread (straight draw) and sley (1 per dent in a 10 dent reed).


The weaving was pretty uneventful, as well, except that I brought the Fireside loom to its knees.  The high tension was over the top, and I actually caused the back beam to bend downward (it is bolted on, so technically it COULD, but it shouldn't!).

Loosened up the tension a bit and kept weaving.  The instructor has a friend who Fixes the Looms, and someone on Ravelry had shared that HER Fireside had some wood pieces on top of the back beam arms that kept it from rotating downward.  He came by, we looked at the other, properly-equipped Fireside loom, and a few weeks later I came in and found them installed.

The weaving went SO QUICKLY!


Then I wound a warp for another rug, for the downstairs bathroom.  That was quick, too.

Learnings:
For the headers, weave with the carpet warp held double, otherwise it will pull in, no matter how hard you try for it to now.

Maybe don't weave rugs on a jack loom that has a hinged back beam.  :-)

That said, the rugs have been in use for months now.  I toss them in the washing machine from time to time.

Friend P got a HUGE stash of denim strips.  She gets to skip all the hard parts.

Thursday, January 9, 2020

Weaving a Denim Rag Rug, Part 1, Stripping

For a really long time, there was a moving box full of old jeans in a corner of the weaving studio at the Multnomah Arts Center.  (That room has EVERYTHING). I’d look at it and go... “I could weave a rug”.  I didn’t do anything, though, and one day, I watched the box leave the building with someone else.  Ah, beat me to it, I said.  Her: “J wanted it GONE.”

Then, maybe a month later, there she was, weaving a couple looms away, on a denim rug.  And then she said: “I don’t want to weave any more rugs, and there’s lots of denim left, you want it?”  Oh yeah!  So, in came a paper box (the ones that hold a dozen reams of paper) of denim.  And “I’ve got more, let me get it for you”.  Two paper grocery bags of old jeans.  Took it out to my car.  Friend and fellow weaving student P: “I wanted the denim!”.  She’ll get what’s left after I’m done :-)

So, after much measuring, reading the Rag Rug book by Janet Meany (repeatedly), viewing other denim rug projects on Ravelry and Pinterest, I designed a warp.  In the re-use theme, I decided to use cotton rug warp from the closet at the weaving studio (yarn there is sold by the ounce.  Smoking deal.), and use all the partial cones of blue, for a random warp effect, but for the three stripes on each side.  I’ve designed and wound warps before, so you aren’t going to hear any more about that.

Ah, yes, the jeans.  All the research suggested 1” strips, joined together in a variety of ways.  Some cut them in a spiral around the leg, which does yield a longer strip, but incorporates the exquisitely bumpy seam.  No lumps in my rug, thank you very much.  Not to mention that would be cutting with scissors.  None of that, either.

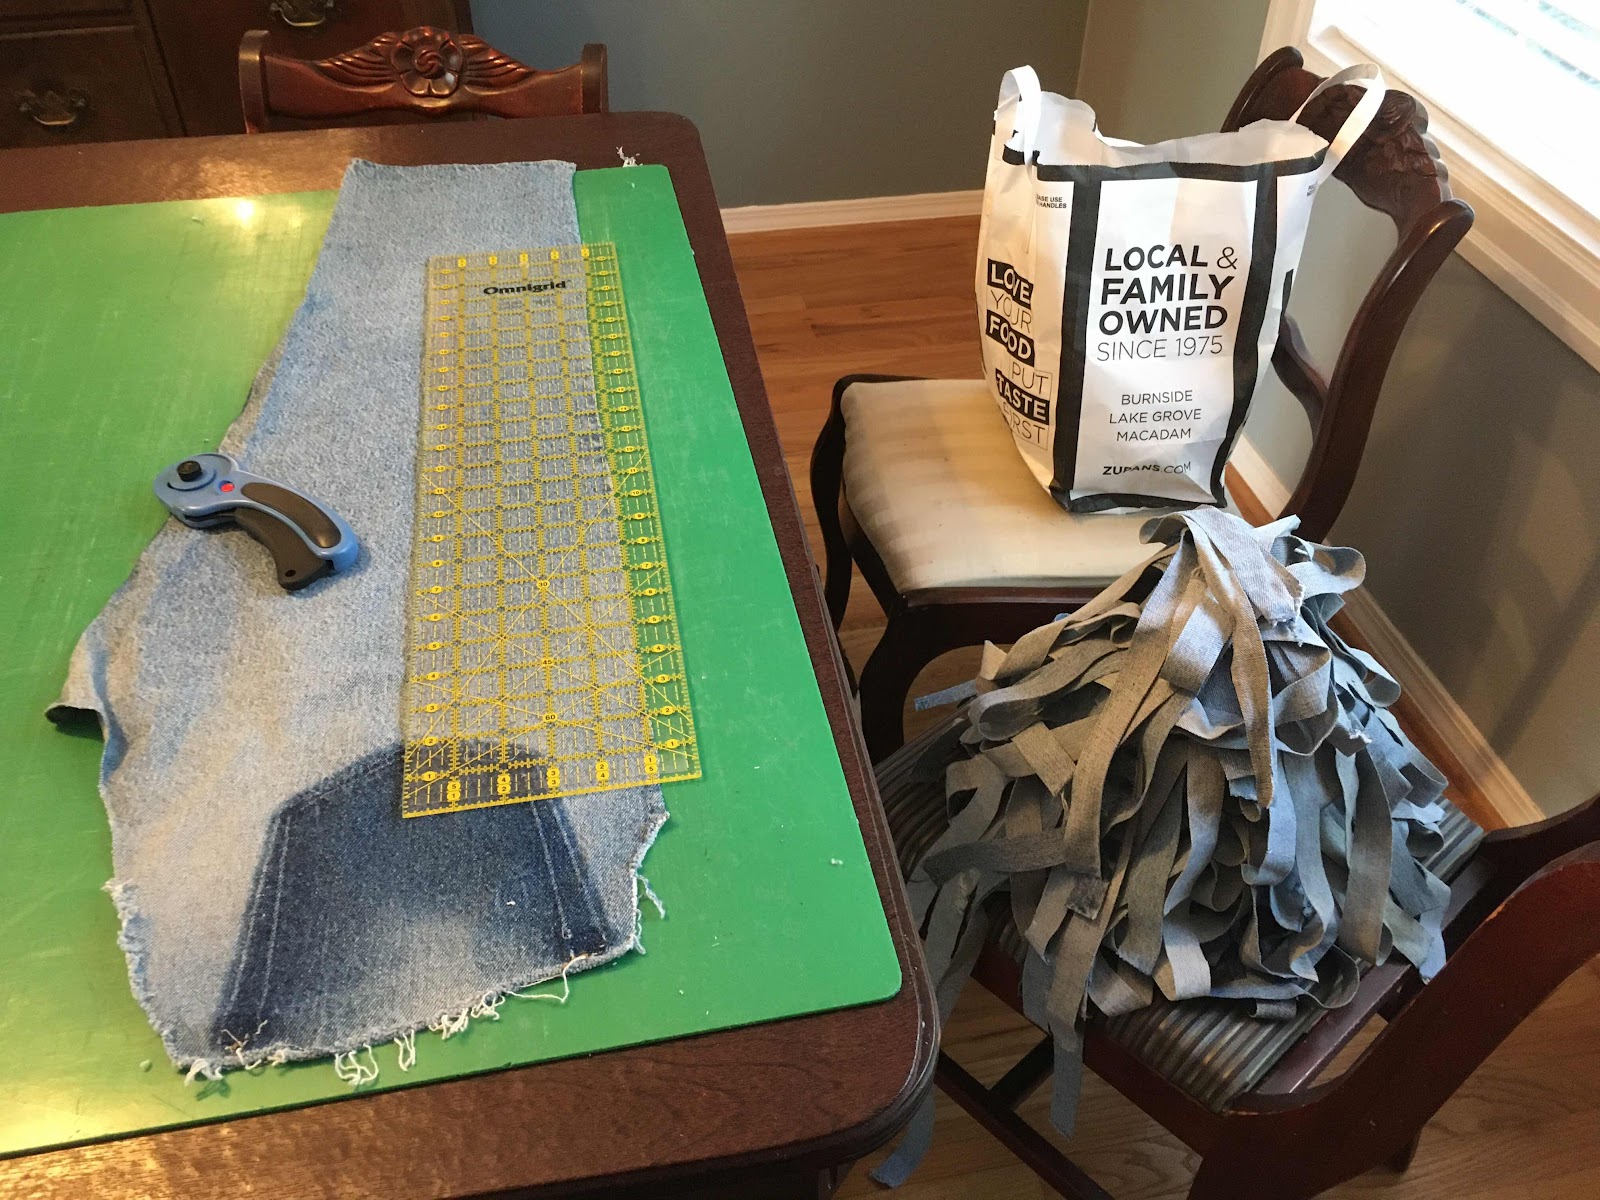
There were many whole pairs of jeans which needed deconstructing to get the fronts and backs of the legs. That did require scissors, and it is a great project to do while watching tv.  Some of it was already deconstructed, some partially deconstructed, and there were some balls of strips, but most of them weren’t usable - bumpy flat-fell seams left in.  A couple were recoverable; I cut them apart into proper strips.

Now, with all those flat pieces of denim, I pulled out the cutting mat, long quilting ruler, and rotary cutter and sliced into 1” strips.  Bought a new ergonomic handle rotary cutter :-).  The most efficient way for me was to stack two pieces (sometimes they needed ironing to lay flat, but mostly not), and start cutting into strips from the outside leg seam side, as that was the straightest.


I did not worry about being perfectly on grain.

If you think this took rather a long time, you’d be right.

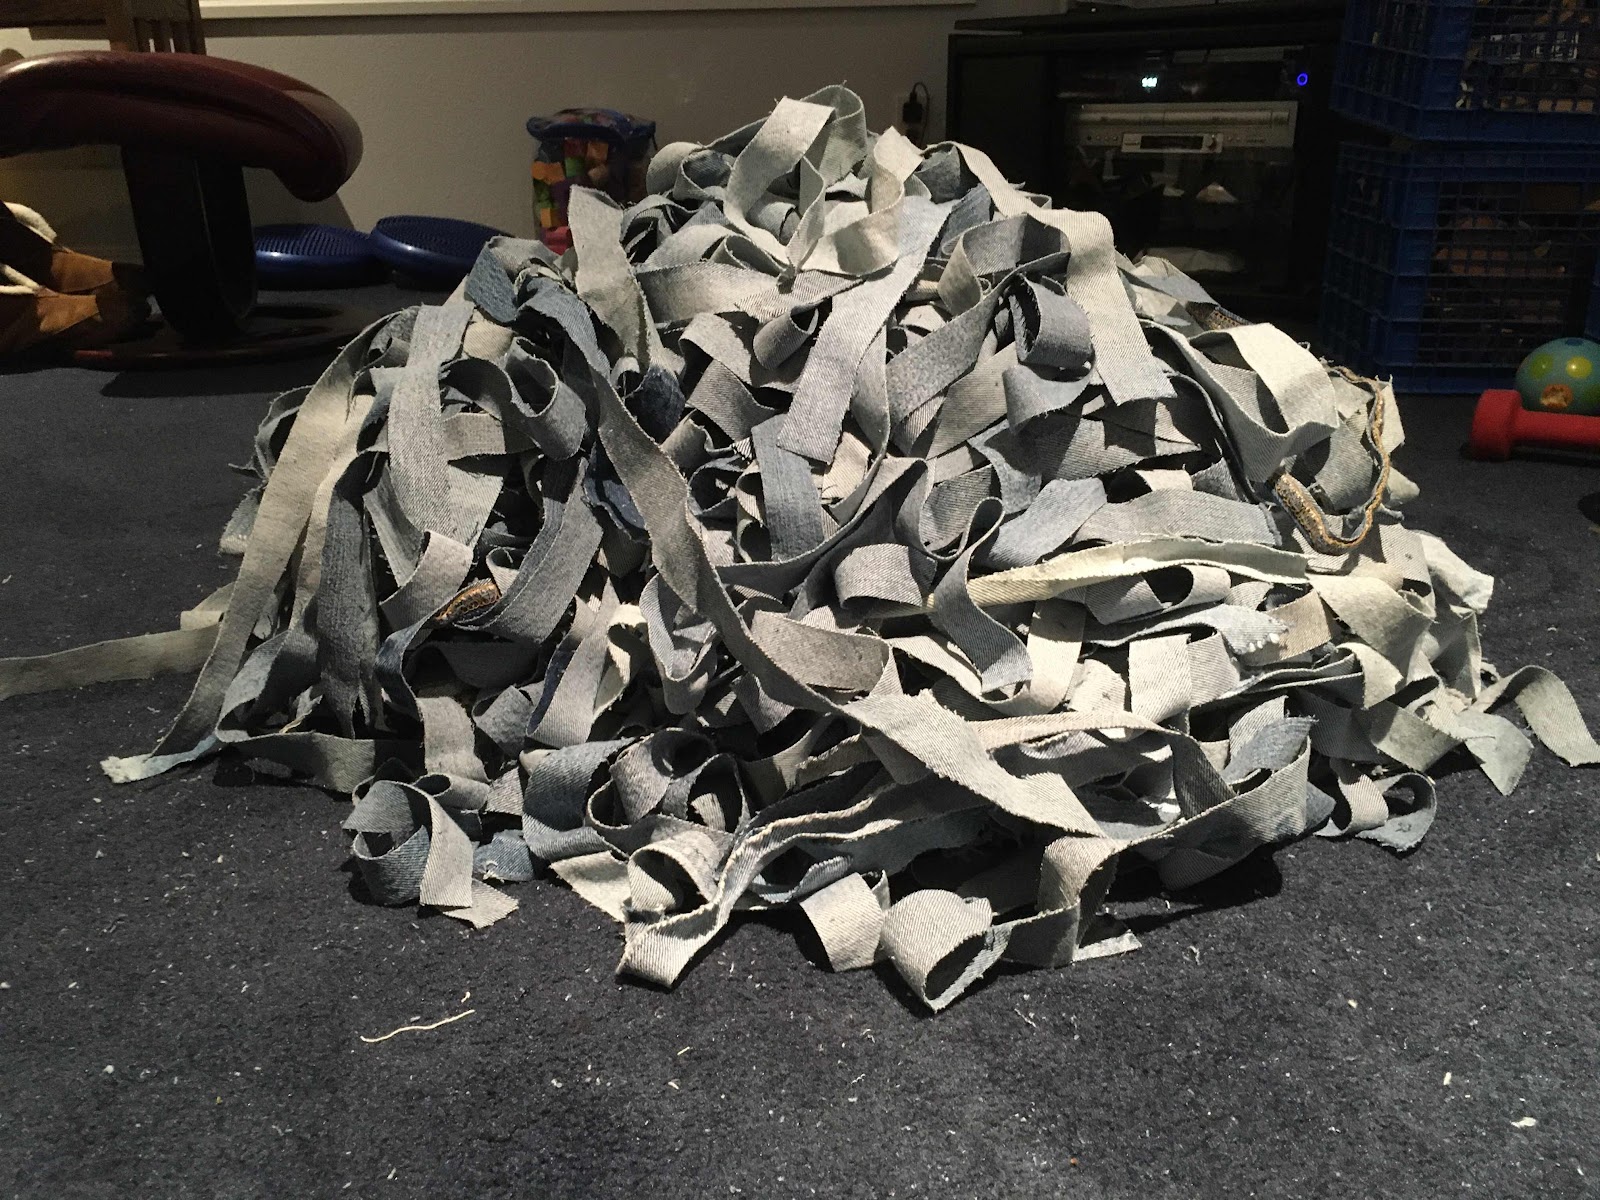
After cutting them ALL into strips (If I don’t use them all, P will be a lucky woman), I dumped them out on the floor and mixed them up, as no pair of jeans is the same color as any other pair, and I wanted a somewhat random mix.  Scooped them back into the grocery bags and box.


I then sewed the short ends of strips together on the bias (mostly) right sides together, rather like making quilt binding.  I’d sew until there wasn’t any room left behind the sewing machine, then start a new one.

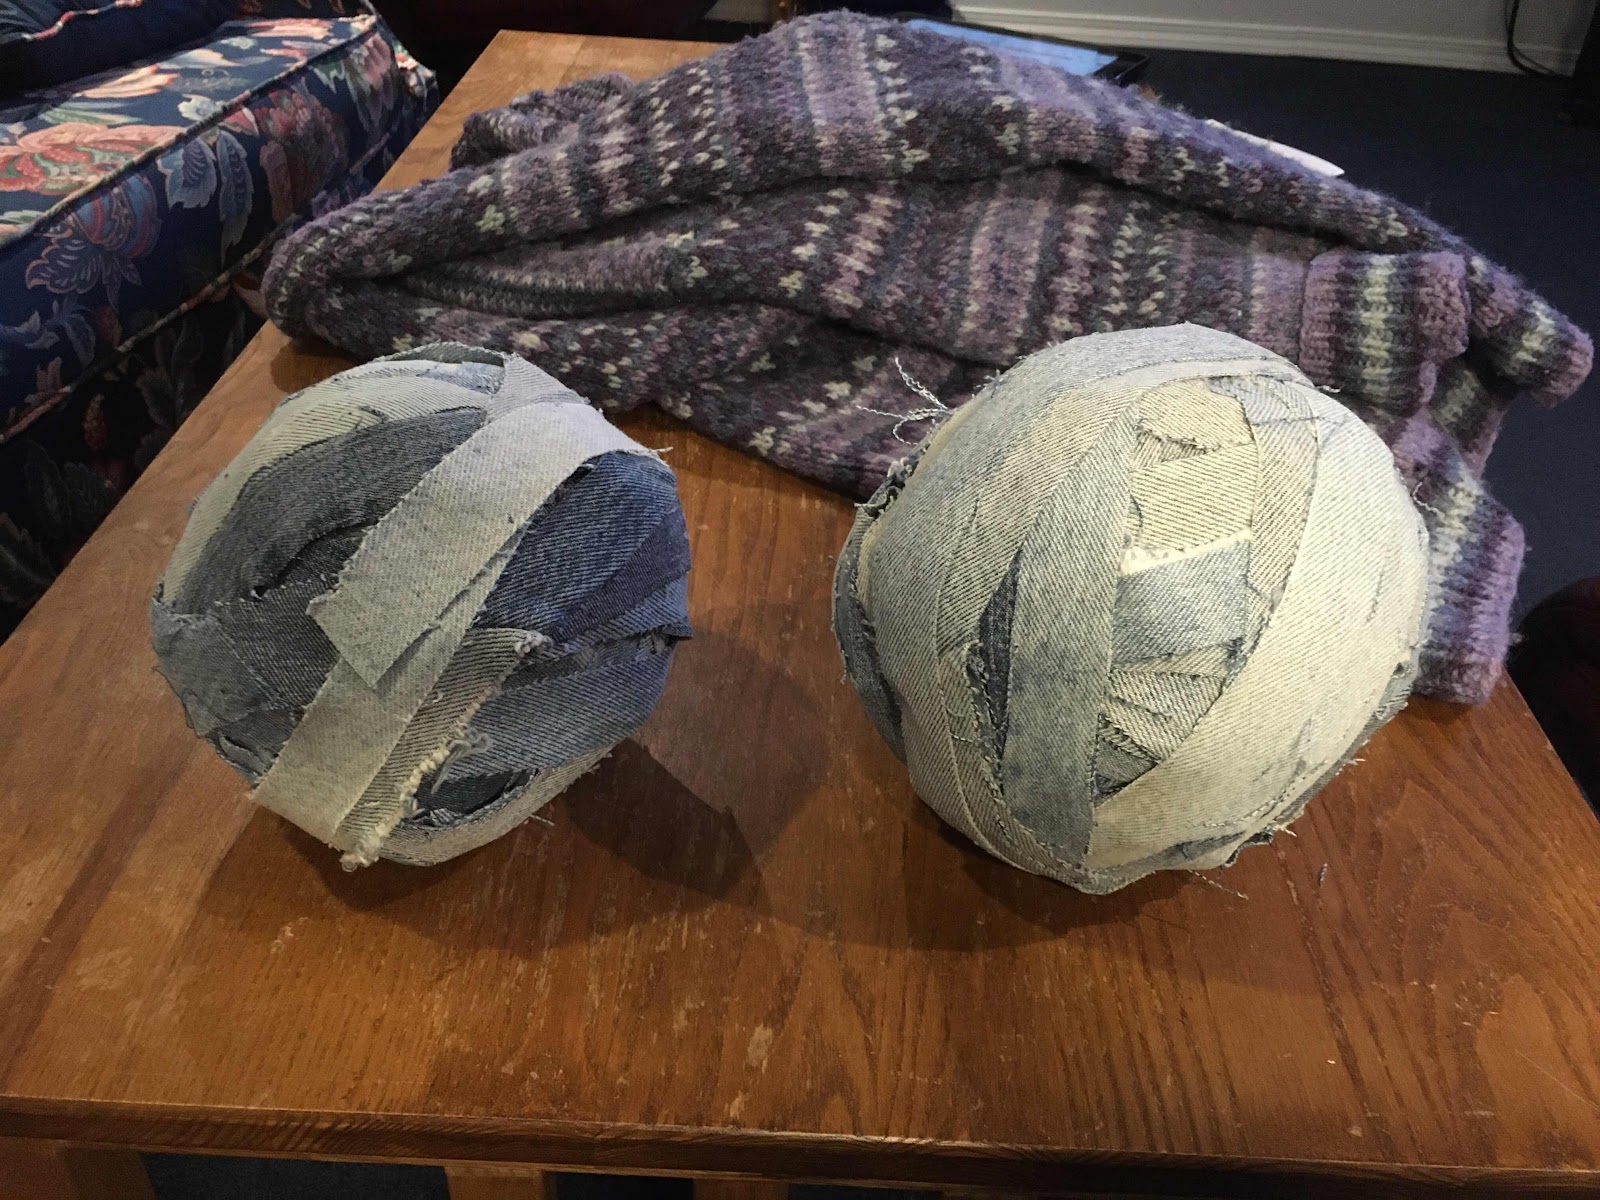
Next - turning the very long strips into balls, which is another good tv-watching task.  For each seam, cut apart, and cut off the “ears”.  Repeat until there’s one looooooooog strip, then roll into a ball, finger pressing the seams.  My strip balls weigh about a pound each; it just worked out that way.


Next up: weaving!

Monday, April 24, 2017

Summer and Winter Weaving Tie-Up

I had sent my Strickler 546 provided tie-up off to Tim's Treadle Reducer, because the tie-up for a dedicated treadle for each pick wanted 14 treadles.  My loom only has 10.

Strickler 546, Summer and Winter weave structure. Getting better.

The tie-up I got back was do-able, but I had to check a cheat sheet for each block, because it wasn't a logical arrangement.

So, I was chatting with Hilary, a fellow student at the Multnomah Art Center, who is ALSO weaving a summer and winter project (summer and winter being the weave structure; we were both working from profile drafts, which are a shorthand way of describing a weaving design).  She didn't have a cheat sheet taped to her loom.

Her tie-up was MUCH more logical, so I went home and changed the tie-up on my loom.  No cheat sheet required.  I can use this tie-up for every summer and winter weaving project I do going forward as well, which is a bonus.  The tie up essentially mimics the profile block tie-up.

We are using 8 shaft looms, so the profile drafts we use can have up to 6 design blocks.

The algorithm (all credit to Hilary) is as follows:

tie
shaft 1 to treadle 1
shaft 2 to treadle 2
tabby b (usually shafts 3-8) to treadle 9

tie the pattern shafts in each block to the corresponding treadle, knowing that multiple blocks are lifted in each treadle.

So, here's treadles 3-8

Profile Treadling Pattern Shaft
F F F F F 8
E 7
D D 6
C C C 5
B B B 4
A A A A 3

where
treadle 3 gets ABCF (shafts 6 and 7)*
treadle 4 gets AB (shafts 5, 6, and 7)
and so on

The draft is treadled in "Pairs X" fashion, and there are 8 picks for each row in the treadle diagram.
Here's a subset of the treadle diagram:

3 4 5 6 7 8
8
3
4
4
4
5
6
6
6
The treadling algorithm is 2-1-1-2, where the 1 and 2 mean that shaft 1 or 2 is to be included in the lift.  Shafts 1 and 2 are lifted together to make Tabby A.  The result is a little "X" in the fabric.

So, substituting the appropriate treadle, to complete treadling the 3,

T+2
1+2
T+1
9
T+1
1+2
T+2
9
where T=3.

Easy peasy.  No cheat sheet.

* you MIGHT think that the tie-up for treadle 3 should be 3, 4, 5, and 8, rather than 6 and 7.  And that's what they call "Tromp as writ".  Which is all good for a SINKING shed loom; the tied shafts go down when the treadle is pressed.  However, for a RISING shed loom (jack looms are rising shed; my loom is a jack loom; it is the most commonly available type of loom used in the USA, I think), one ties up the opposite treadles.

Wednesday, April 19, 2017

The Porteur Bag

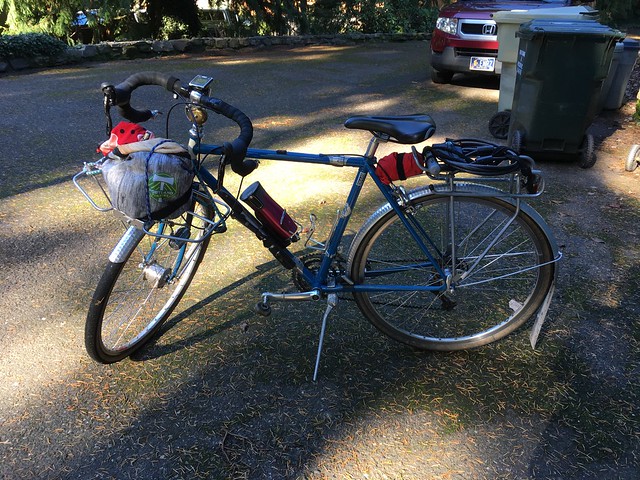
Back in the day, when I acquired Sweetpea, and Bleriot became just my utility bike, there were a few changes.  I added a kickstand, upgraded the rear rack, and, eventually added a Platrack to my little front rack, for a porteur-style platform.

This called for a proper porteur bag, but it took me a long while to get there.  I'd use bungies and all sorts of bags, none of which looked particularly nice.  Having my bikes look nice is kind of a thing for me.

Coffeeneuring, ready to go
(this looks tacky)

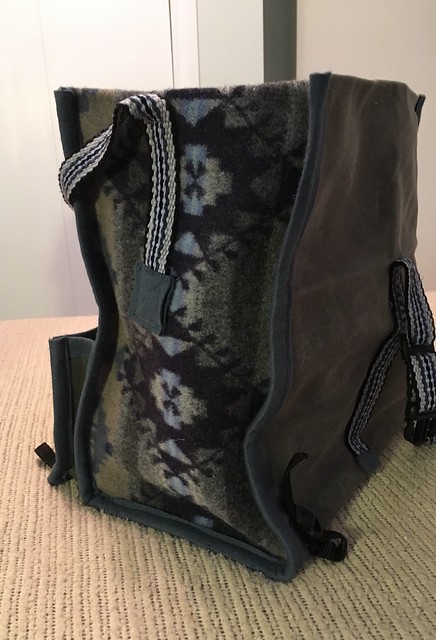
Then Lesli gave me some big pieces of waxed canvas.  I could make a bag.  It spent a couple of years being designed in my head, and by then I'd acquired some Pendleton blanket-weight fabric (do NOT ask how much it costs per yard, even at the outlet store.  Just don't.), and my sister-in-law, who runs a halfway house for textiles*, came into some fluorescent green and pink Cordura, which she figured I could find a use for.

I've been collecting bike helmet buckles and straps (WELL WASHED) from helmet giveaways (we confiscated the old one so it would not be used again).  I certainly had the pieces.

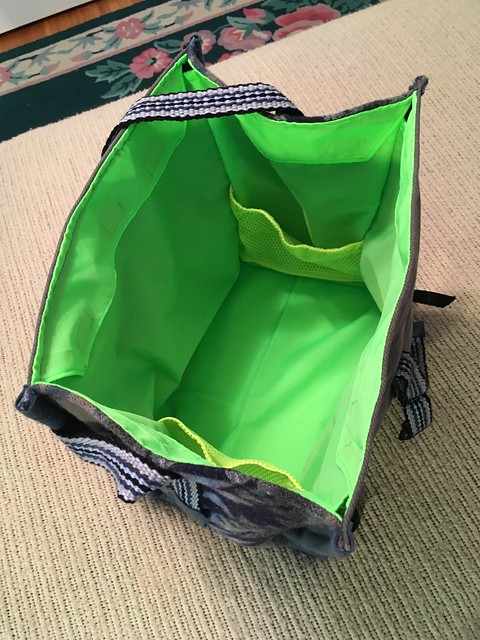
I wanted a fully-lined bag, with some internal pockets for the bits that get lost in the big compartment, and a pocket on the outside for my u-lock and cable, because it takes forever to attach and remove it from my rear rack.  The lining had to be removable (for washing), and the bottom was to be stiffened with a piece of Coroplast (I have a small stash of old lawn signs just for this purpose)

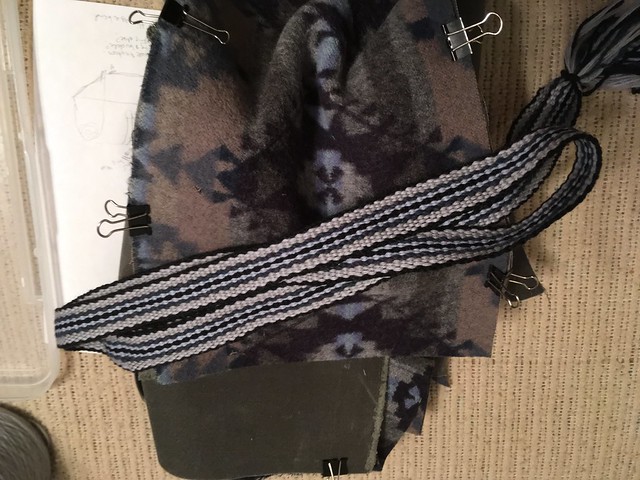
The strap - well, I could BUY webbing, but what with the waxed canvas and Pendleton fabric, it called for an exceptional strap.  I tossed my yarn stash, and wove a strap to match the Pendleton fabric, because I could.

Handwoven band for Porteur bag project

Measured the rack.  Measured the distance between the handlebars - that was a constraining factor.

Made a paper pattern and binder-clipped it together (best sewing accessory since the metal needle, although the Clover Wonder Clips may step ahead in line).

Stared at it awhile.  Looked at other bags on flickr, in particular, David Parsons' bags.

The original design:

Basically, the same size as a reusable grocery bag, but an inch deeper.

Sewing it was fun - my Bernina 930 was certainly up to the task, but arguing with the heavy fabrics did prove a bit of a challenge.

The lock pocket, which was a simple flat pocket, decided it wanted to be a bellows pocket, due to the depth of the lock and cable.

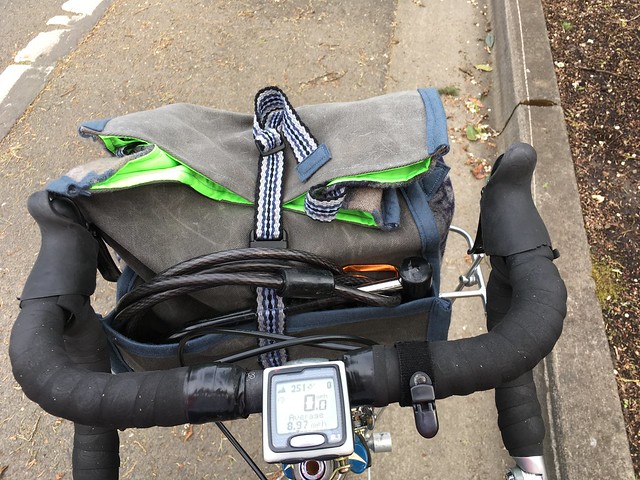
The bag clips to the rack with helmet webbing adjusting clips (Bern and Bell), and running the strp through the tombstone before clipping it; works very well.

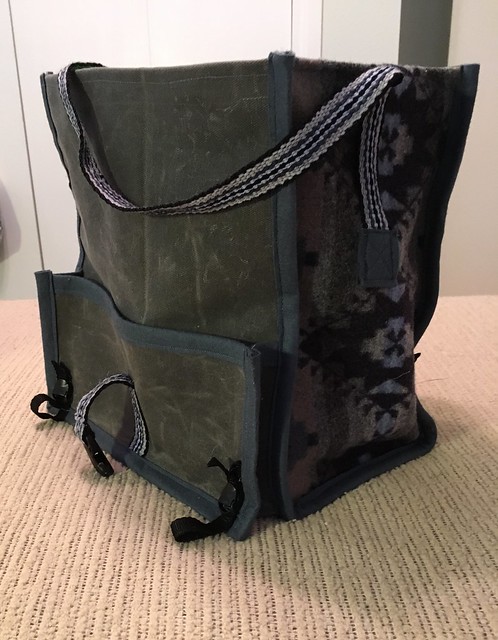
The result:

Porteur Bag rear view - the pocket is for my u-lock and cable.

Porteur Bag side view - Pendleton (tm) woolen fabric.

Porteur Bag lining detail - side pockets to corral the little bits

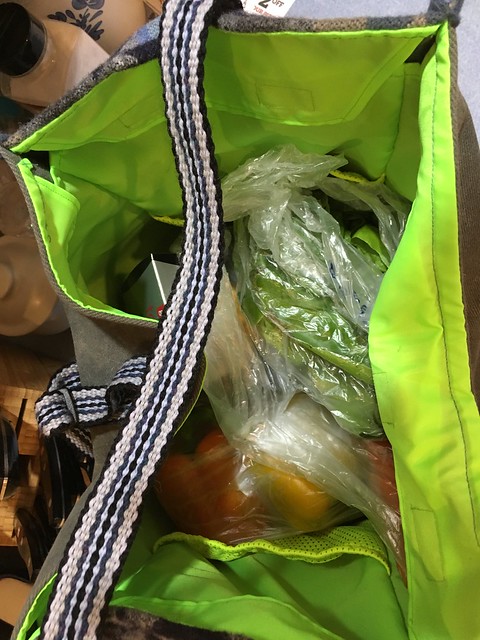
And, in use:

Bag in use; grocery run

Bag in use; grocery run

Notes for next time (hah)
Make it taller for better roll-topping, and use a wider strap.

On the whole, though, I am pretty happy with it.

*textile halfway house - fabrics in interesting quantities show up on her porch.  She redistributes them.  Anything from a bolt of raw silk upholstery fabric (pajamas for me!) to the Cordura, to ribbing, to...

Wednesday, April 5, 2017

Weaving, the Original Programming Project

I just properly used the Excel SUMPRODUCT function to calculate the number of heddles I'd need on each shaft for my upcoming Summer and Winter weave structure project.  It is a real pain to have to move the heddles around once threading has started.

Here's the draft:


Summer and Winter is one of the ways where weaving gets, oh, complicated.  It is a block structure, where groups of ends (warp threads) can be aggregated as necessary to get the end result.  Software people, think subroutine.

In Summer and Winter, each block has 4 threads, and, with an 8 shaft loom, I can have 6 blocks.

Here's the profile threading draft:


As you can see, there's a start, a repeat (3 times), and a finish.

The numbers at the far right are the count of each block in the repeat.

I then totaled up the number of blocks for threading:

blocks
start/end pattern  total
A   2     6
B   7     21
C   4     12
D   6     18
E 4 4     16
F 9 9     36

Then created a table with the count of each heddle per shaft used in each block, and did the SUMPRODUCT thing with the total number of blocks and the heddle count within each block.

Heddles per shaft
1 2 3 4 5 6 7 8
A 1 1 2          
B 1 1   2        
C 1 1     2      
D 1 1       2    
E 1 1         2  
F 1 1           2
109 109 12 42 24 36 32 72

So, 109 heddles each on shafts 1 and 2 and much fewer on the other 6.  Which says I don't have to move any around, and can get to beaming on and threading.

I also had to do calculations to work out how to get complete pattern repeats in the width and length - there are 128 threads in the pattern repeat, and I wanted to weave 22" wide.  It worked out to 20 epi (sett, ends/threads per inch), including a selvage.  There was a bit of modeling to work that out, also accomplished via Excel.  There will be 3 pattern repeats width-wise and 5 length-wise.

Wednesday, November 16, 2016

Weaving Side Trip

I have been sucked into band weaving.  Not that I am entirely sure what I'd DO with the finished product, other than as hang loops for dishtowels, but I am sure I'll think of something.

Options were a band loom with two foot treadles (nice, but $$$), a tiny little table loom with two treadles (also nice, but $$), an inkle loom (just no), a kiddie rigid heddle loom (findable on eBay, or new, $), or a backstrap setup.

Also, to do pickup (patterns), there would want to be a different type of heddle, and a nice, but not required shuttle.

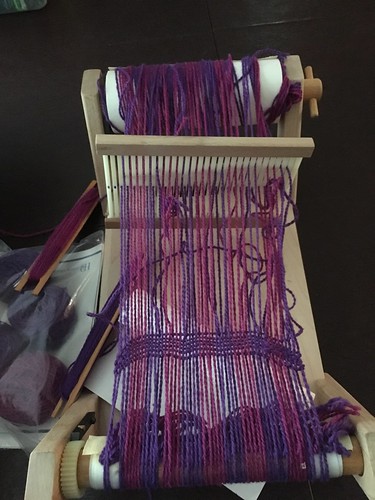
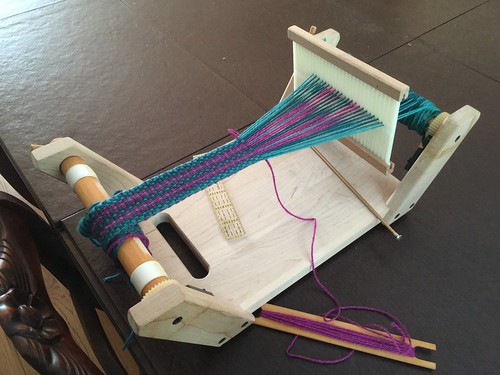
So I got myself a Harrisville Easy Weaver rigid heddle loom, via eBay.  The original owner had woven 5 picks and given it up (!)  Given that the warp was by now moth-eaten, I threw it away.  This loom will be useful for 10" rigid heddle weaving, card weaving, should I want to try that, and band weaving.  Plus, grandchilden can play with it.

Harrisville Easy Weaver Loom, slightly used

Not yet having received the Sunna heddle from Sweden, I wound a warp for a plain band out of expendable yarn, and practiced with that.  I should get the plain weaving better under control before I branch into patterns.

Working on the band

The stick shuttle that came with the loom works fine for plain weave.

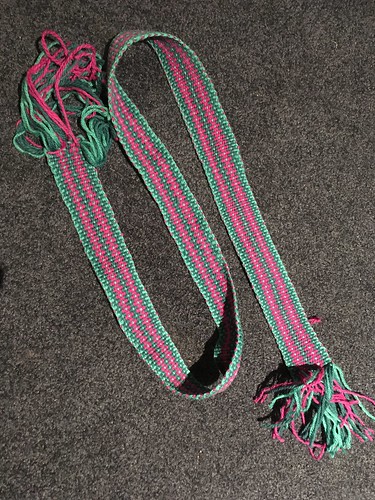
Finished woven band, 44"x1.3/4"

So, less than 24 hours later, I had a 44" band.  It might want to be a belt.

Saturday, June 4, 2016

Adding another Hobby

Because I don't have enough of them!  One of my fiber group (mostly knitting, but we've got quilters and embroiderers in the group) is destashing, and besides ending up with more yarn, fiber, and fabric, I also got her 4 harness table loom.

Restored Leclerc Dorothy table loom

After careful examination, it appeared that the reed was rusted beyond recovery, plus it had no lease sticks, shuttles, or a raddle (you get to look up all these terms).

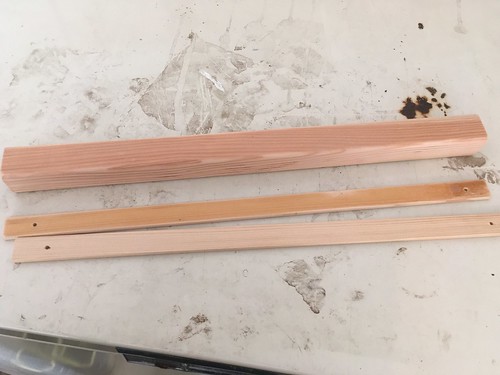
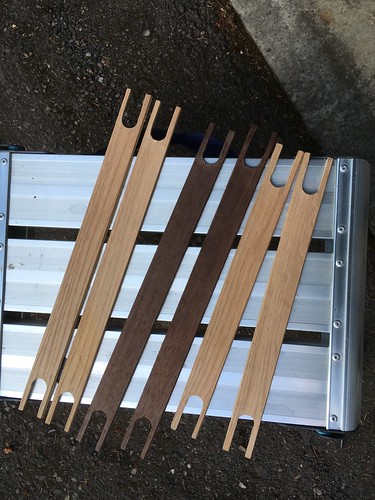
While I had to buy a new reed, all the other pieces are fairly basic rectangular/oblong pieces of wood, some with openings at each end, some with nails spaced every inch.  After consultation with the resident woodworker, and researching what each piece should look like, he found some nice scraps in the garage (fir, oak, and black walnut), and cut everything out.

Raddle and lease sticks - random fir scraps, I think

Stick shuttles, rough sanded.  Oak and black walnut

I sanded and finished (Deft spray on laquer.  Quick drying, looks nice).  Then holes were drilled for the nails on the raddle (nails in drawer in shop area), a bit more sanding and finishing, nail installation, and I had all the pieces for successful loom use.

In the time it took to get to this place, my SIL's friend told me I should take the scarf weaving class at Multnomah Arts Center.  It appears that one does not need to be a Portland resident, so I signed up.

Weaving class - sleying the reed

Weaving class - threading the heddles.

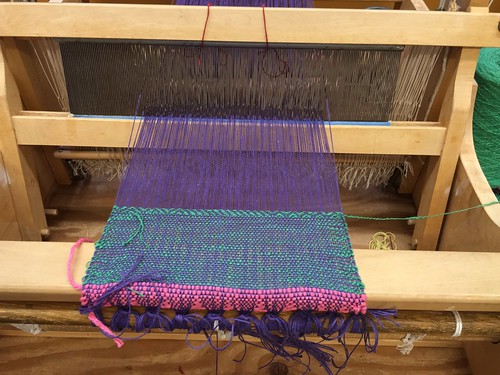
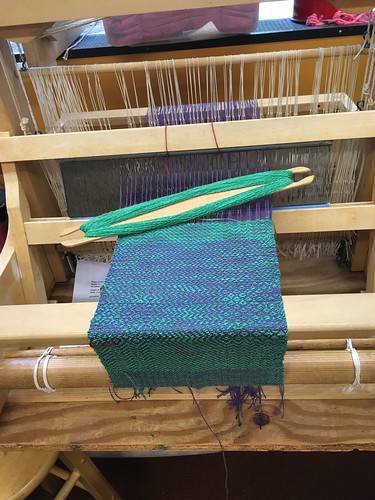
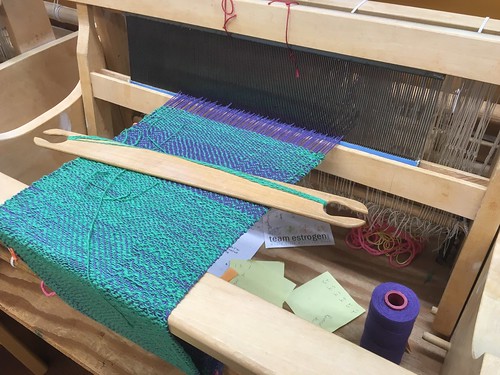
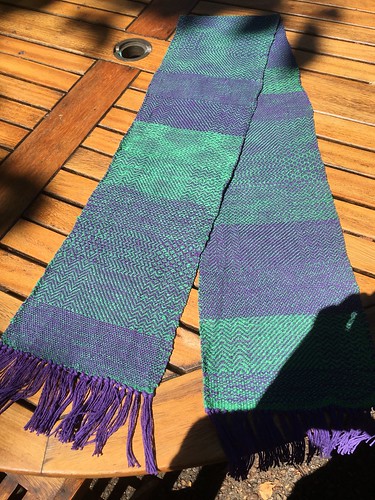
It was great fun!  We learned how to make a warp, dress the loom, and then, finally after all that (it took almost 2 3-hour classes to get there), weave!  The scarf is really a sampler, 9 inches wide, with different threadings for each 3 inches.  We'd weave for three inches, and then change to a different treadle order, so we could see the different weave structures.

First Weaving!

Moving along, first 15 inches

I had to go in a couple extra times to keep up - here I was thinking I was the slowest weaver ever, but it turned out my weft was thinner than everyone else's.  So I had to weave longer to get the same length of cloth done.

Playing Warp Chicken in weaving class

Woven sampler scarf

(Bicycle tie-in - I'd ride over to the Multnomah Art Center.  It is a fairly straightforward route, at least for me.  The center is a couple of blocks from the start of the Solstice Ride.  Multnomah Blvd is trivial to ride up when one doesn't have 200k ridden through the night, first.)

Now I am trying to figure out what to weave on the loom at home.  Dishtowels seem a good exercise, although my maximum weaving width is 15.75".  I think it will work.