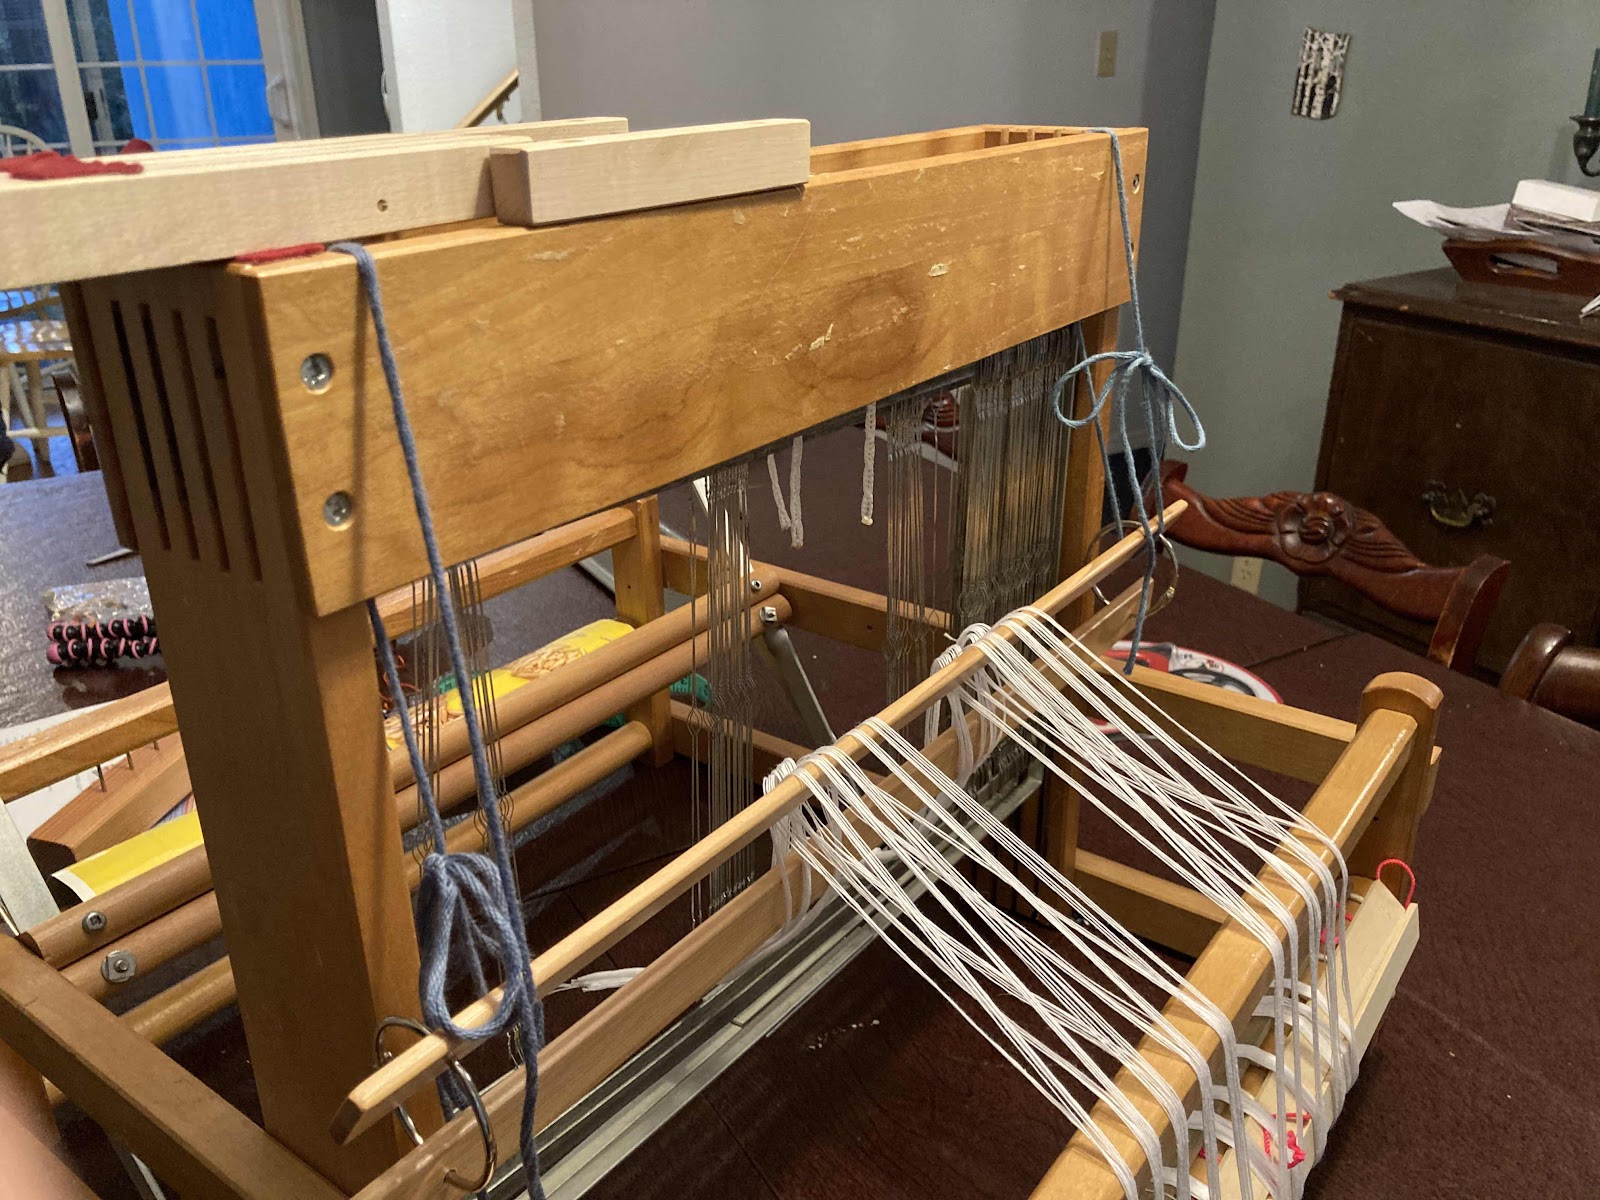
The loom is a Leclerc Dorothy, quietized by replacing the side levers and shaft lock with flippy levers.

The warp was to be 103 ends, 1 yd long. I wound the warp twice as long, placing a cross at both ends.
The SMART weaver (which I wasn’t yesterday) would put the counting thread (or tie a knot around each bundle at the turning peg) in units of the raddle spacing. My raddle for this loom has 1” spacing; the sett for my choice of warp yarn is 12 epi, so I should have put in a knot or counting thread every 12 threads.
Here I am getting started, with useful things: scissors, cord, lease sticks, the warp, measuring tape, warp sticks (brown paper or a cereal box/cardboard also works well), and the instructions.
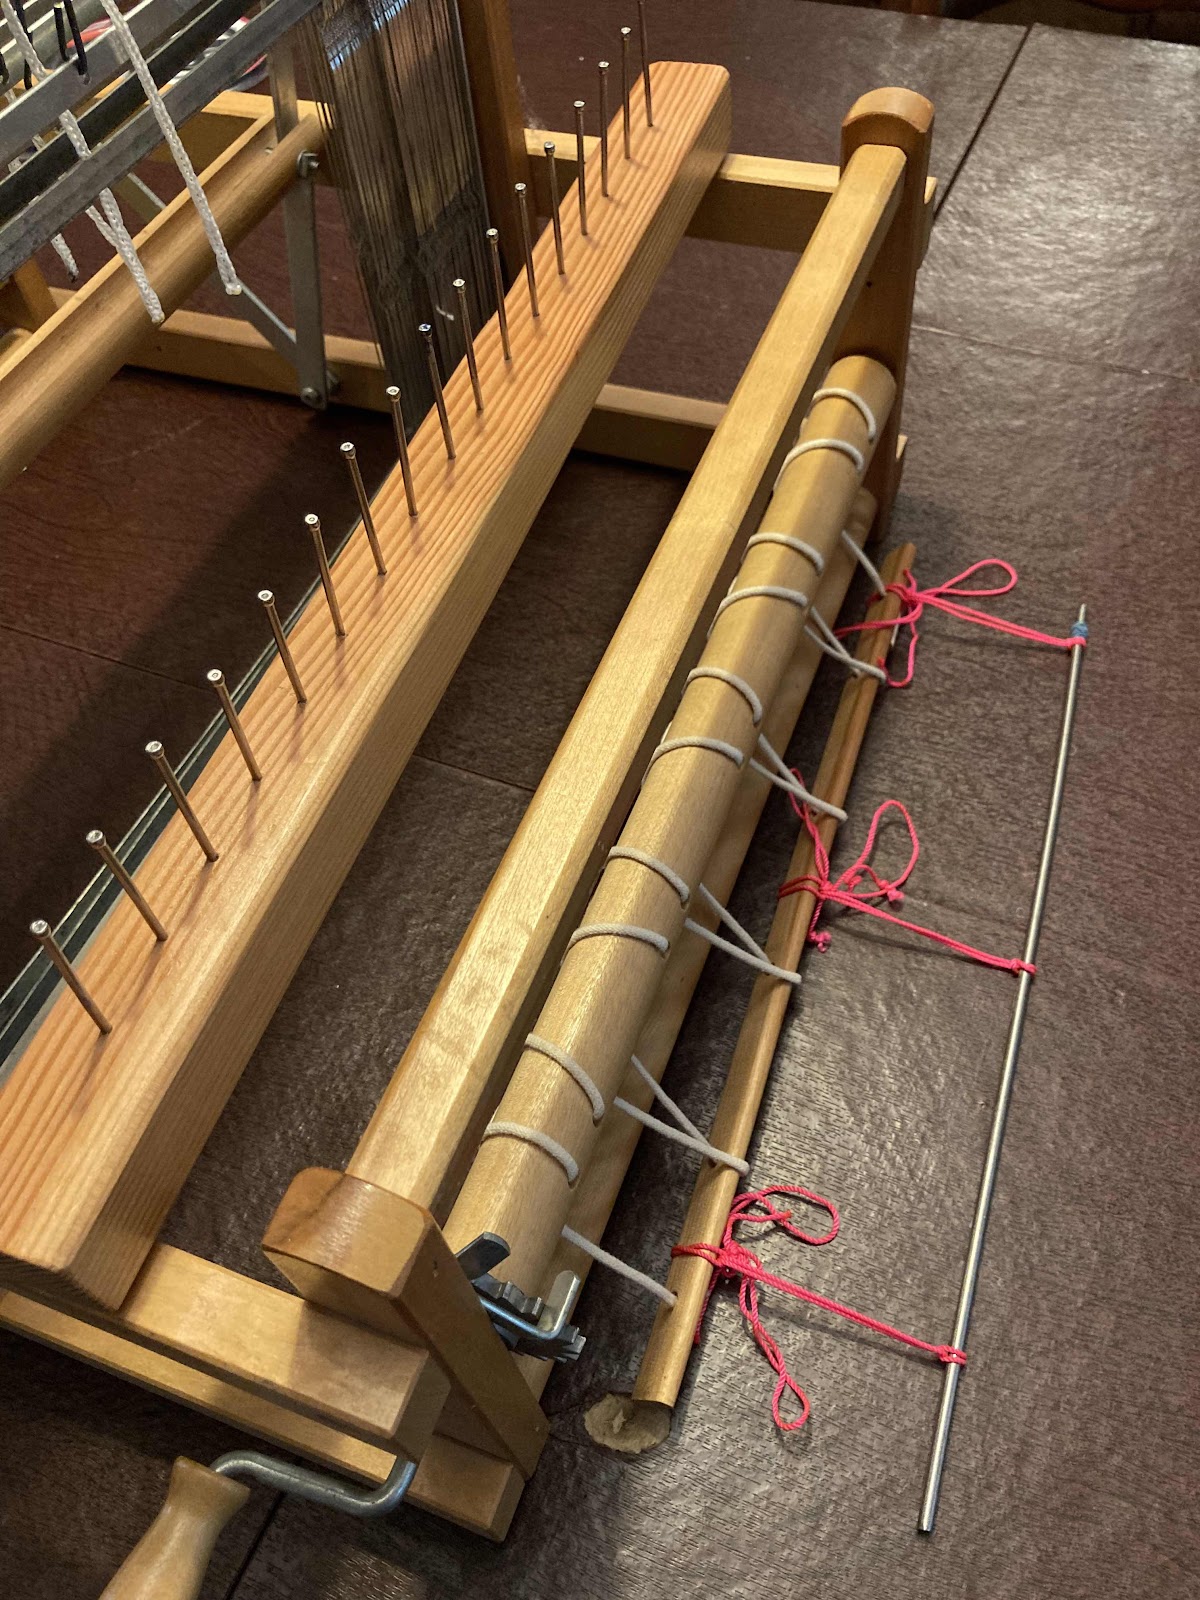
The raddle at the back of the loom. I use rubber bands to secure it to the back beam. The warp stick (metal) awaits the warp.
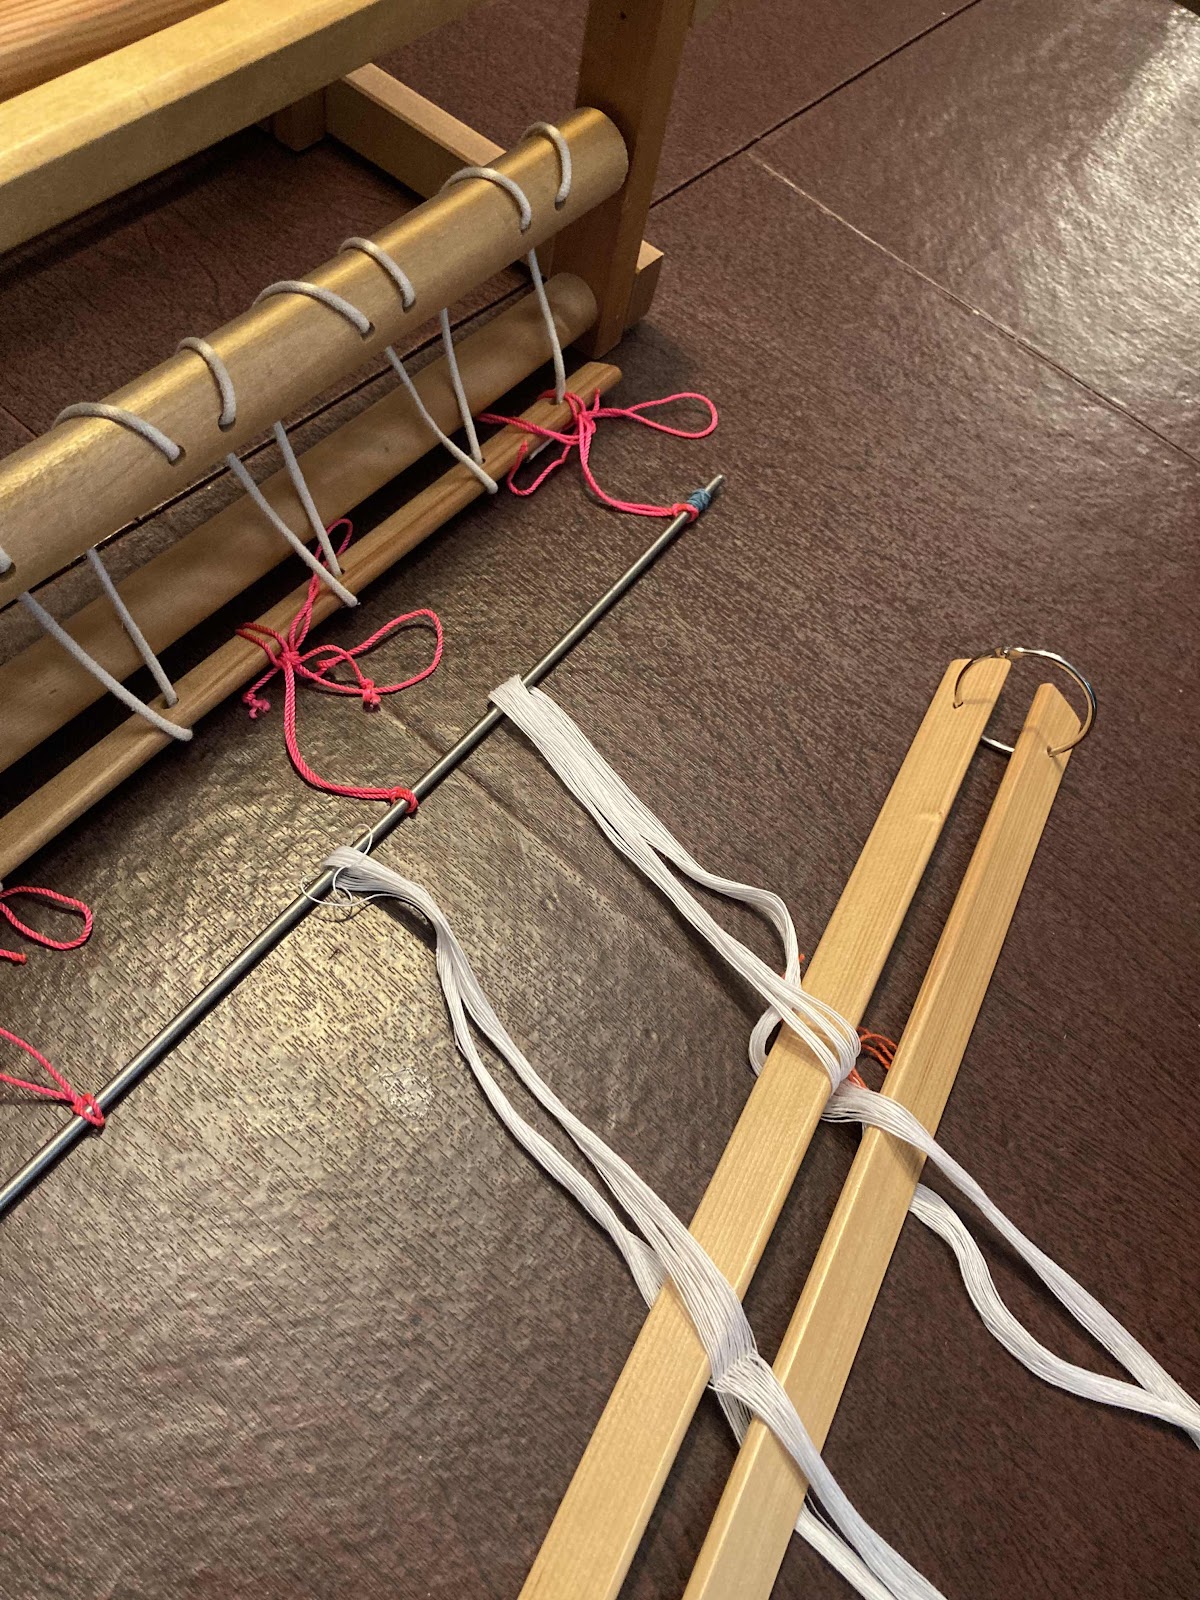
Here’s the warp in the lease sticks, ready to go on the warp stick.
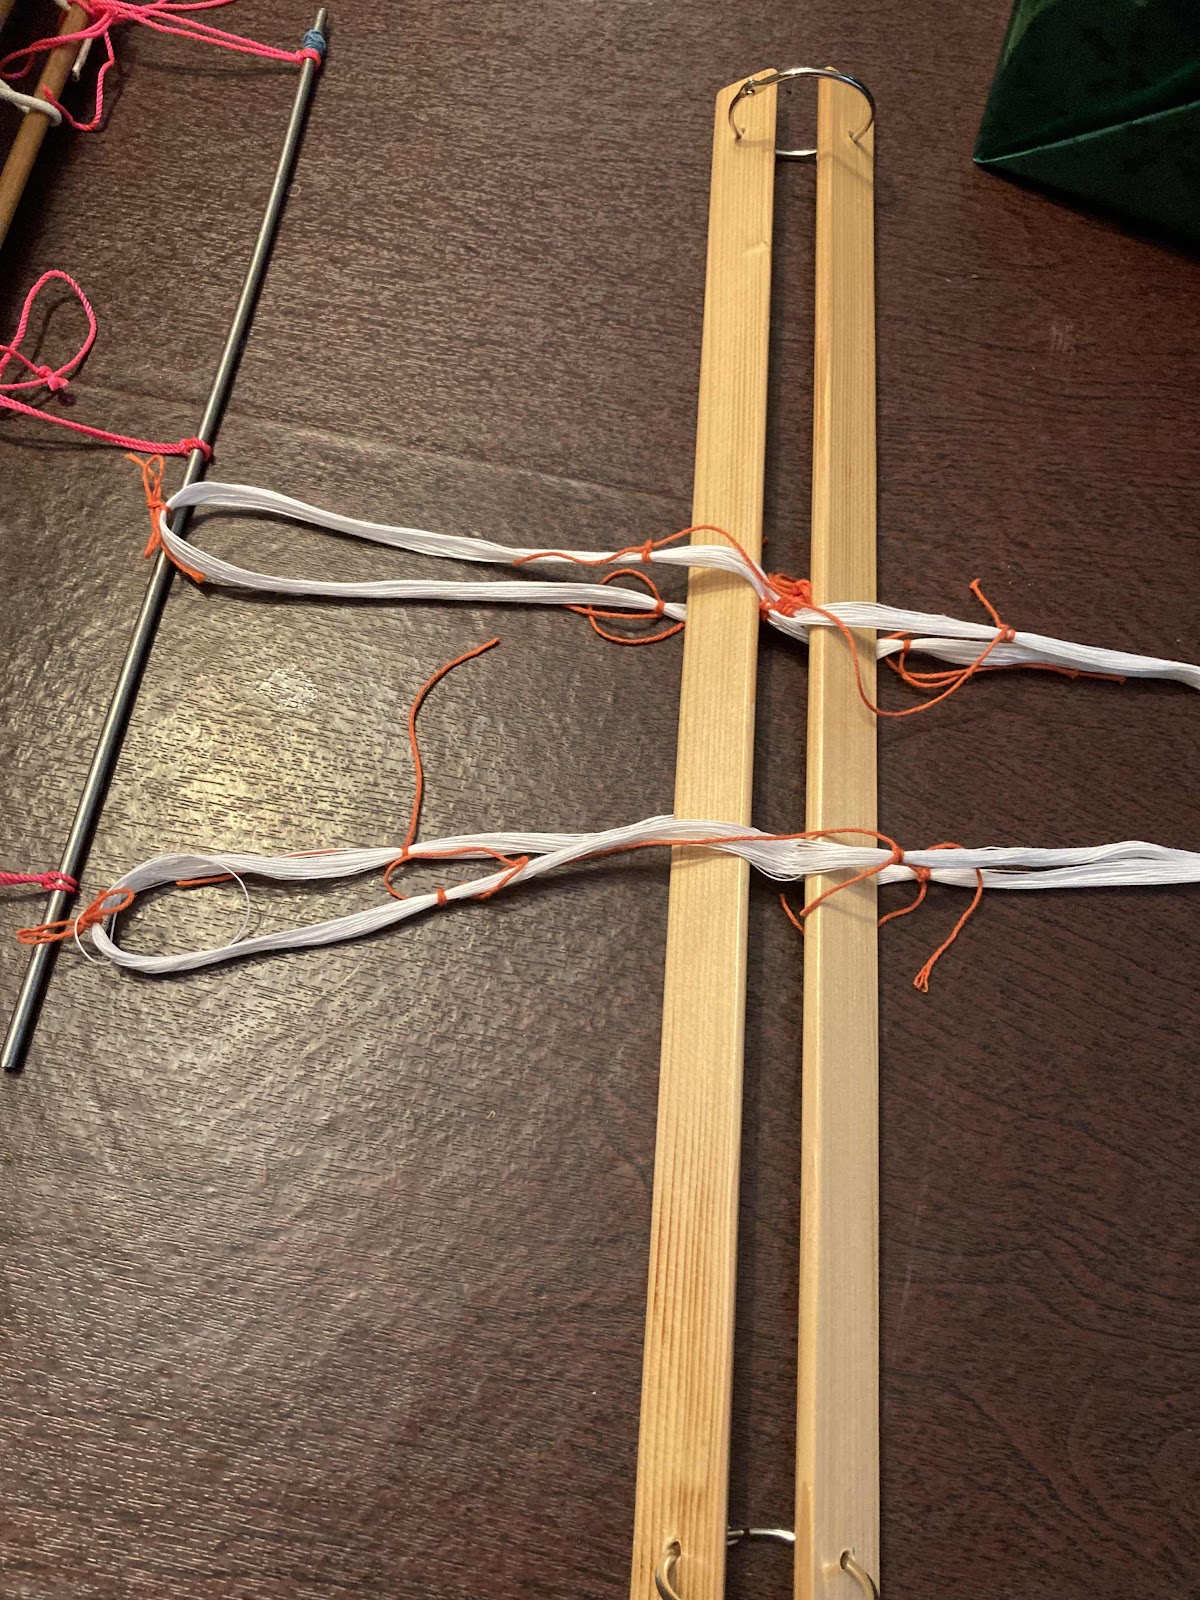
Warp is on the warp stick, all the ties have been removed. I then flipped the whole assembly up, with the warp now coming out the front of the loom. I also tied the lease sticks to the castle, so they’d stay put when beaming. There are many ways to do this; they all work (as in how one secures the lease sticks)
Brief pause for calculations - width in reed, to work out raddle spacing.
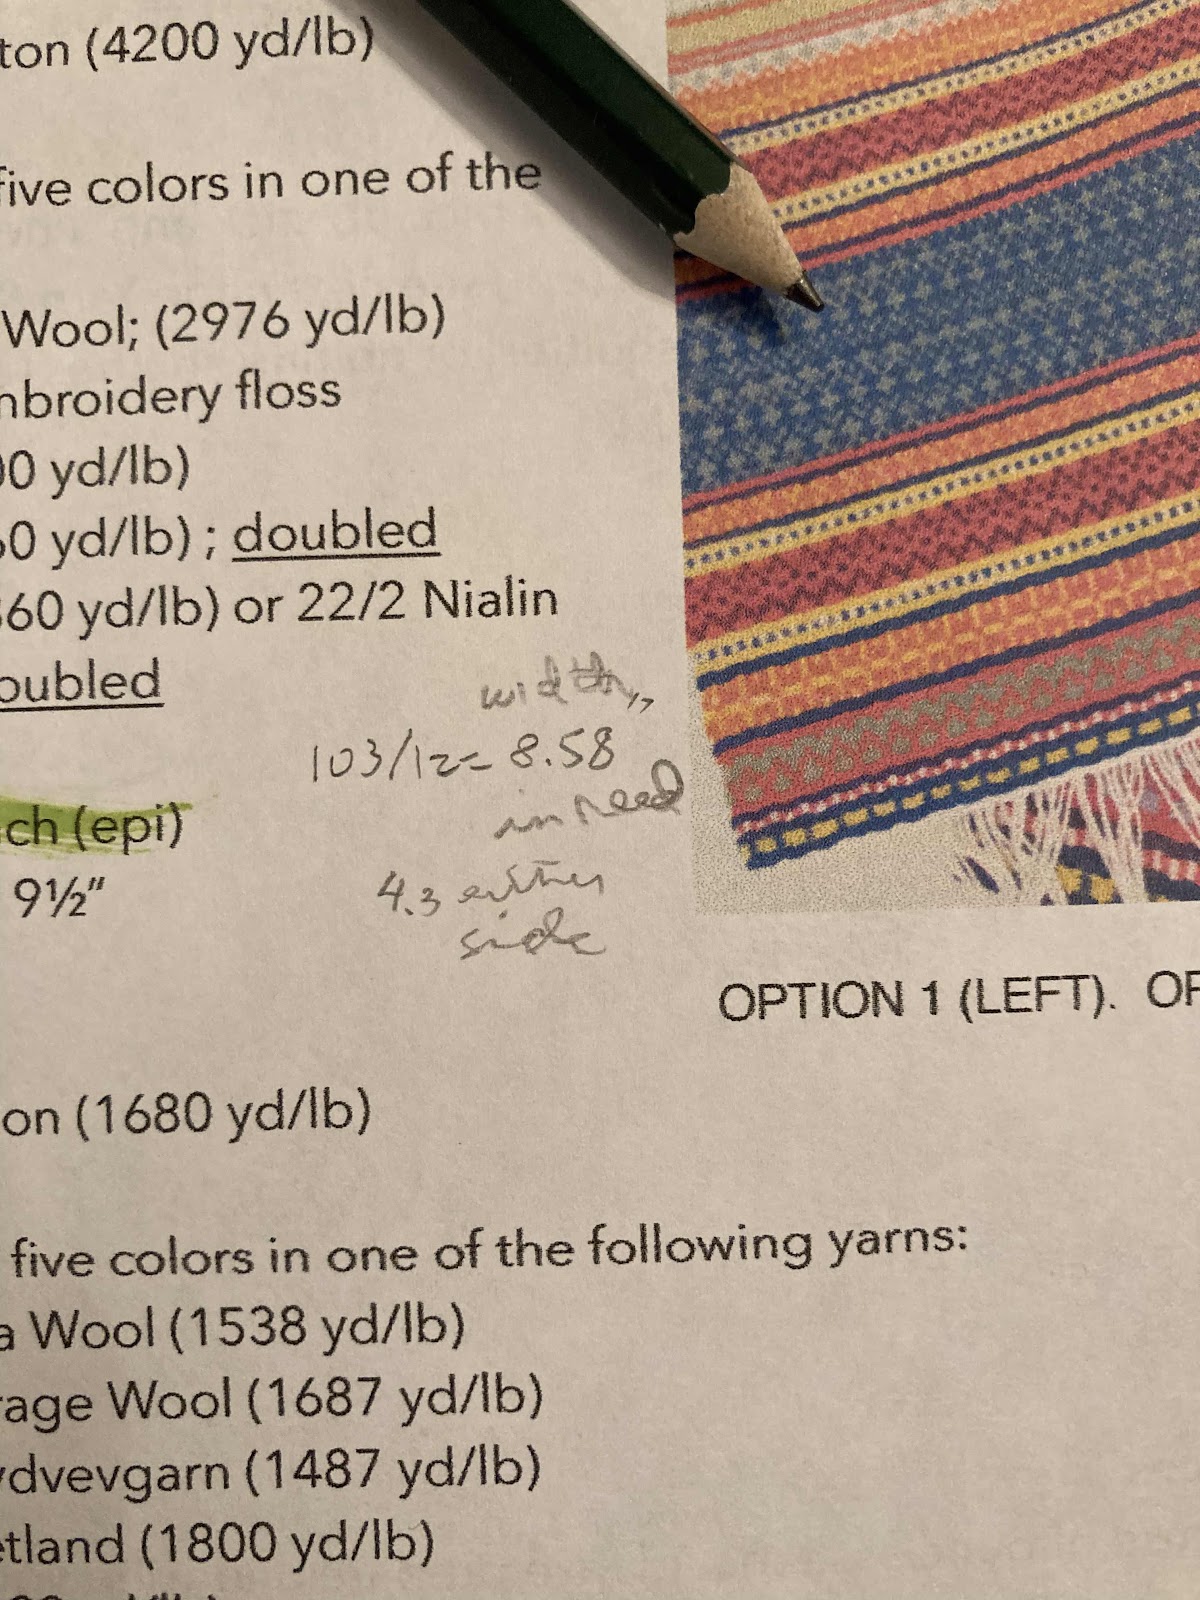
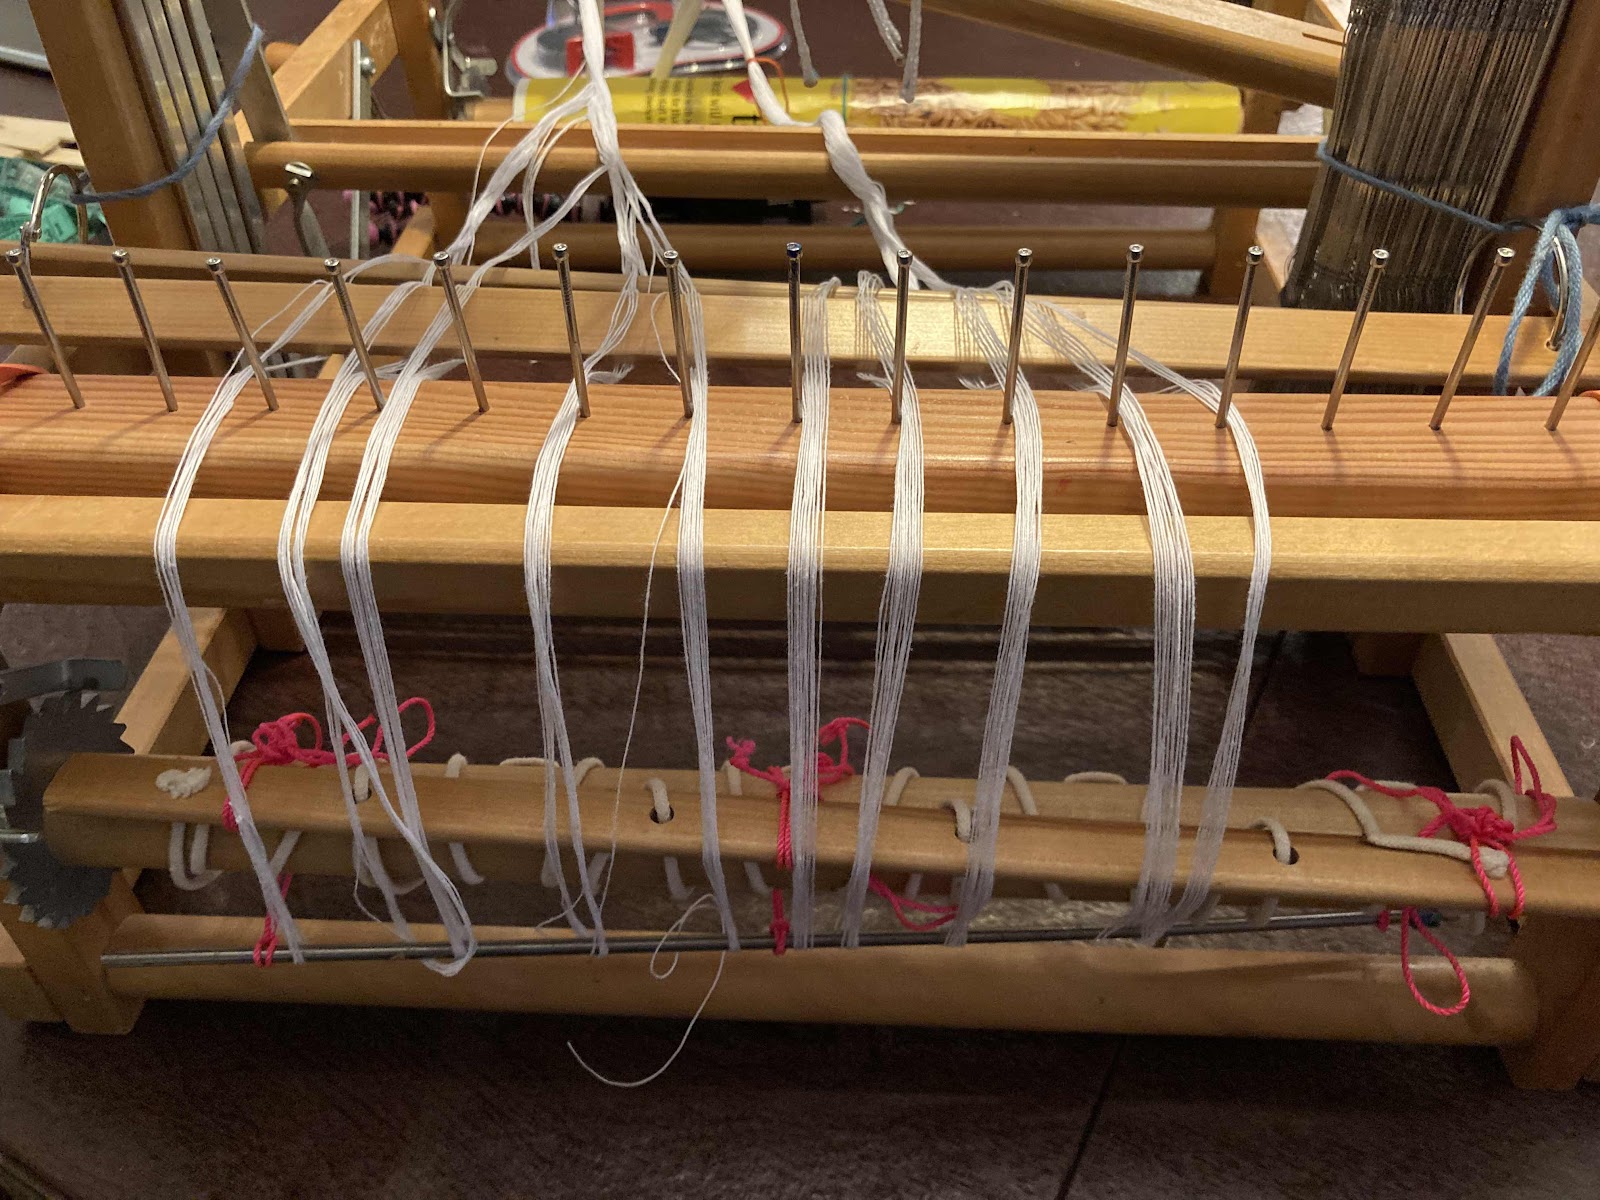
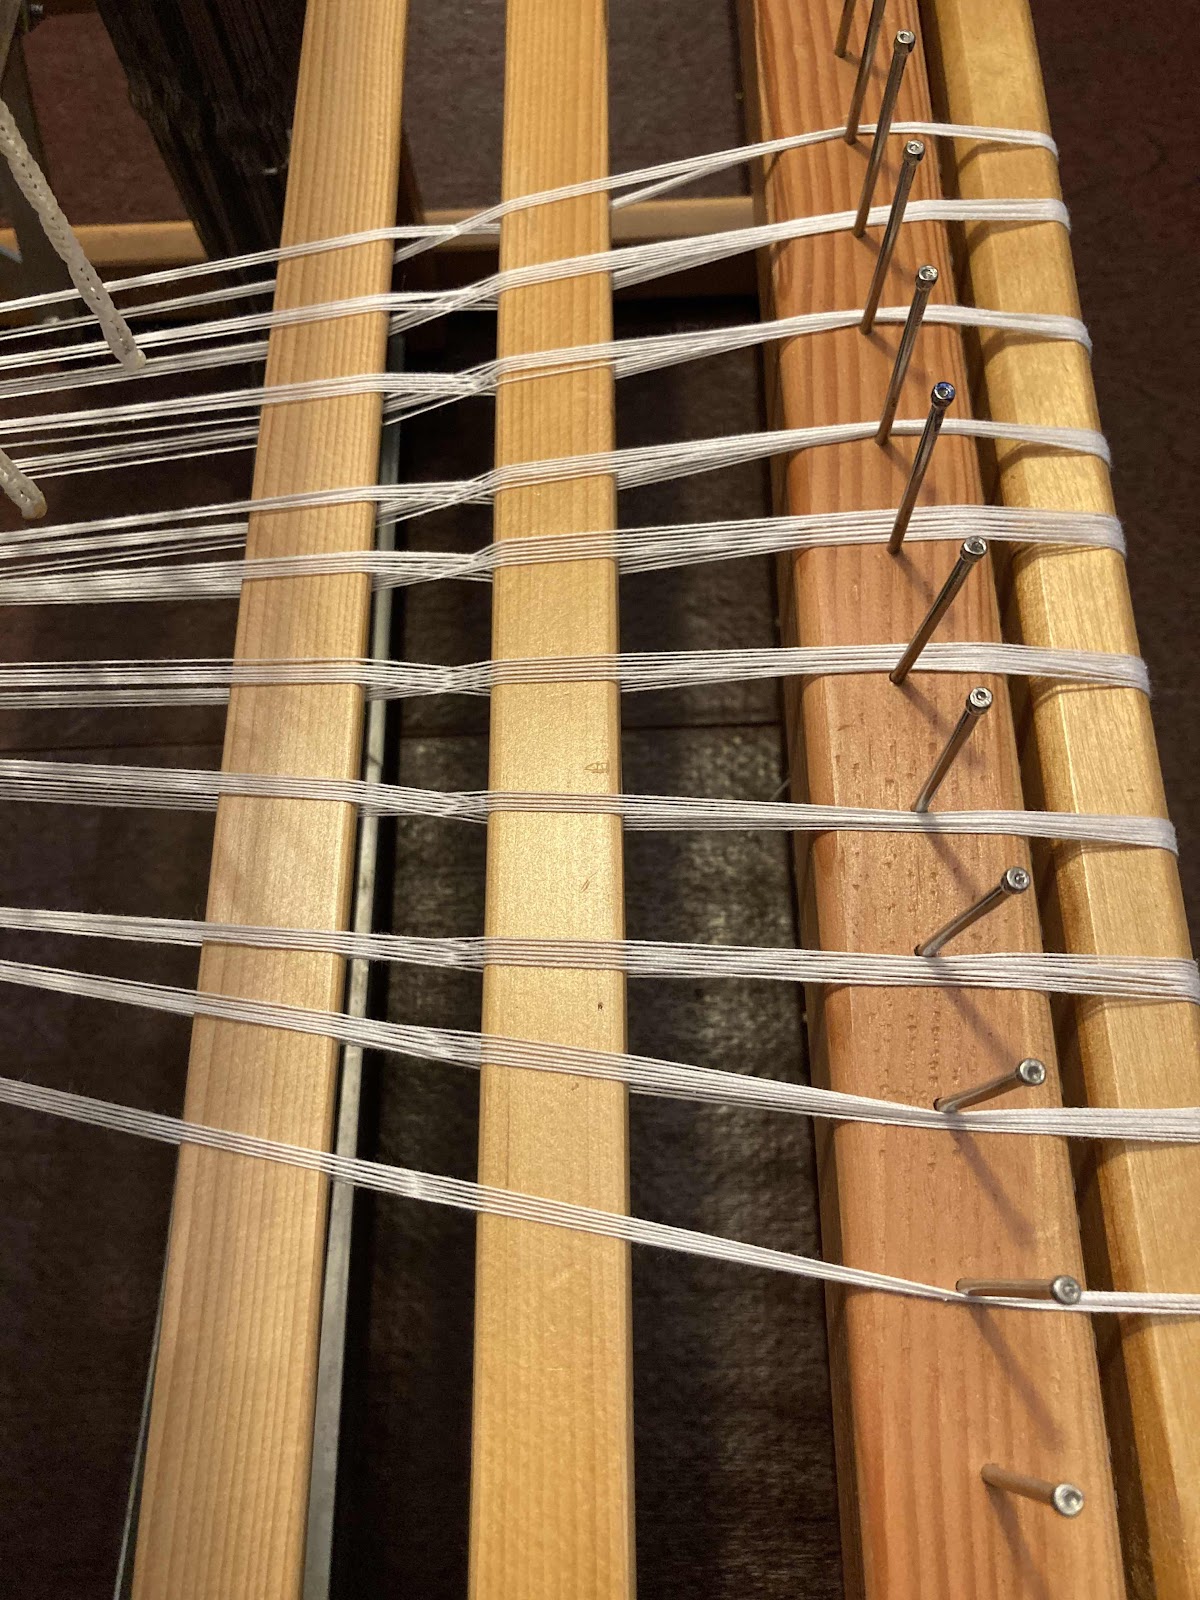
The warp is spaced out in the raddle. As the warp was wound twice as long, I essentially had 2 bouts, and started spacing out 12 ends per raddle dent from the middle. This is where the thinking ahead of using a counting thread in raddle thread count units pays off. I had to count threads. Not hard, and there’s only 103 of them, but tedious. You can see the lease sticks secured to the castle. I also removed the two remaining choke ties, and cut the warp in half; 1 yd each half.
Snugged up the warp a bit and started inserting warp sticks, so as to cover over the bumps from the cords, sticks, and knots on the warp beam.

Beaming on. I am holding the warp tight from the other side of the castle. If it was a longer warp I’d use weights. Continuing to add warp sticks so the entire first revolution of the warp beam is covered.
And there we go. Done. Tie slip knots in the warp so it doesn’t escape.
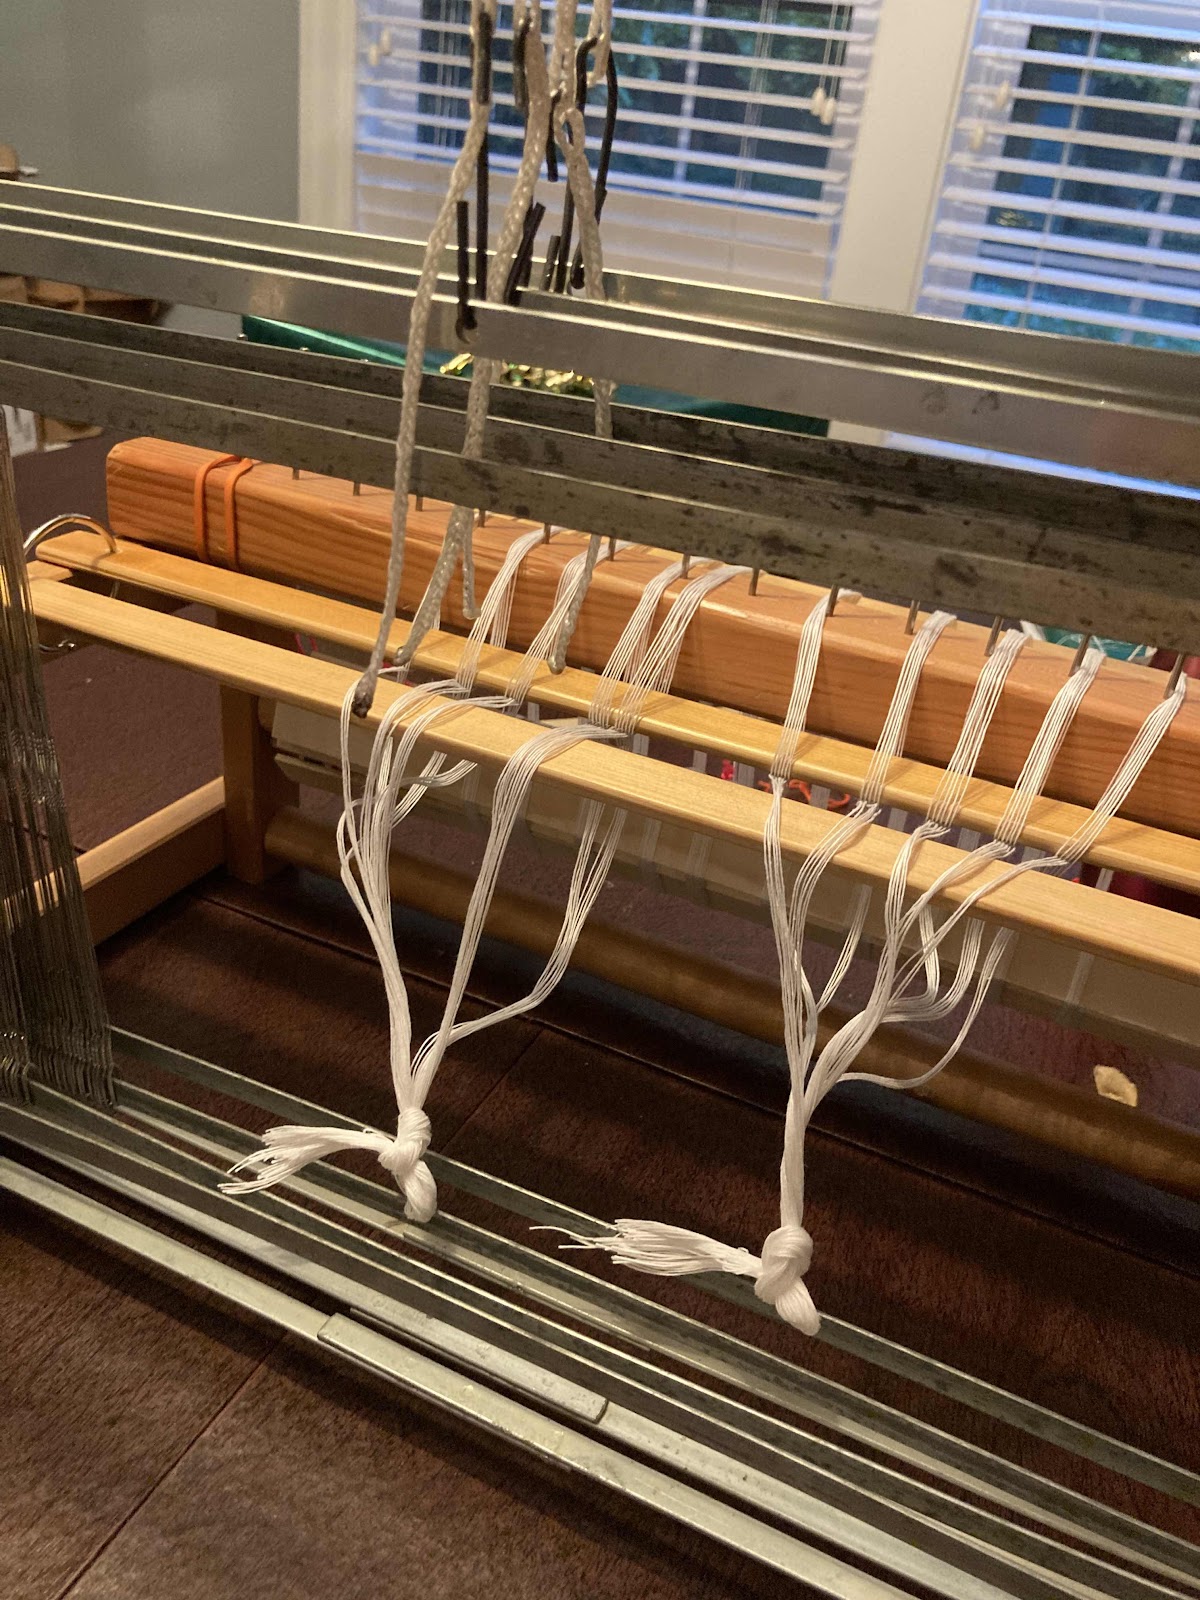
I removed the raddle, and tied the lease sticks up to suspend the warp behind the heddle eyes, for easier threading.

Here’s the warp in the lease sticks, ready to go on the warp stick.
Warp is on the warp stick, all the ties have been removed. I then flipped the whole assembly up, with the warp now coming out the front of the loom. I also tied the lease sticks to the castle, so they’d stay put when beaming. There are many ways to do this; they all work (as in how one secures the lease sticks)
Brief pause for calculations - width in reed, to work out raddle spacing.
The warp is spaced out in the raddle. As the warp was wound twice as long, I essentially had 2 bouts, and started spacing out 12 ends per raddle dent from the middle. This is where the thinking ahead of using a counting thread in raddle thread count units pays off. I had to count threads. Not hard, and there’s only 103 of them, but tedious. You can see the lease sticks secured to the castle. I also removed the two remaining choke ties, and cut the warp in half; 1 yd each half.
Snugged up the warp a bit and started inserting warp sticks, so as to cover over the bumps from the cords, sticks, and knots on the warp beam.
Beaming on. I am holding the warp tight from the other side of the castle. If it was a longer warp I’d use weights. Continuing to add warp sticks so the entire first revolution of the warp beam is covered.
And there we go. Done. Tie slip knots in the warp so it doesn’t escape.
I removed the raddle, and tied the lease sticks up to suspend the warp behind the heddle eyes, for easier threading.
Lease sticks suspended. Awaiting the workshop with deep anticipation.