Thursday, June 30, 2016

The Lily Quilt

My nephew and his wife had a daughter, and I was trying to decide on what to give them for a baby present.  I've given up on knitting baby things - they are outgrown too quickly.

On the other hand, a quilt can last a very long time.  I used to make baby quilts - well, I'd make proper pieced quilts in a smaller size :-) - but when nieces and nephews stopped arriving, it fell by the wayside.

The first of those quilts is now 20 years old, the fabric is shredding, and it is still in use.

Given that this little girl is named Lily, I started hunting around for a Lily-themed quilt block.  I found this one, and thought it would work out.

Rummaged through the fabric stash and drew up the pattern.  It had lots of half-square triangles, which are kind of fussy.  The seams have to be perfect for the little points to come out correctly, and it is easy to make a mistake getting all the little bits assembled.
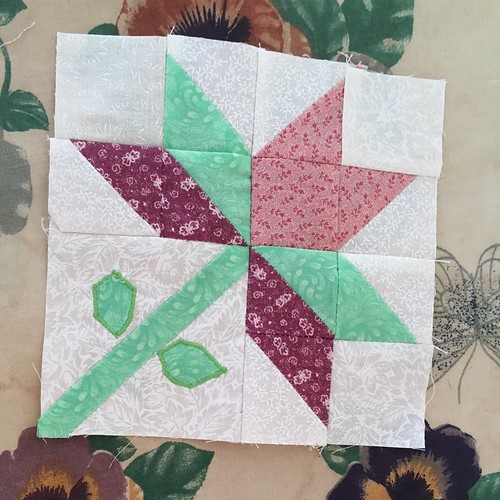
Oops.

I pulled out all my pinks/purples for the flower and the greens for the stem and leaves.  I was trying to not repeat the flower color combination in any block, so eventually I raided another stash for more pinks and purples.  (What?  Buy fabric?  I have too much already!)

The original quilt plan looked like this (yay Visio!):


I was planning to have the blocks go from light flowers in the upper right corner to dark flowers in the lower left corner.  After making up all the blocks, I thought the pink blocks in the sashing and binding might be a little much, so went with solid green.  I did have to buy green fabric for the sashing, borders, and backing.

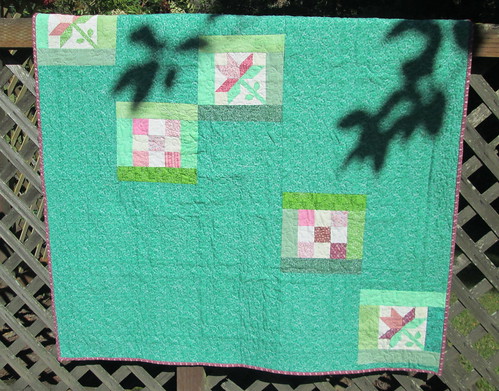
There was not quite enough green for the back, so I pieced it out with a few more quilt blocks.

Then there was the question of how to quilt it.  The design didn't lend itself to straight diagonals; sewing through the centers of the lily blocks wouldn't go well.

I started researching free-motion machine quilting, bought the 505 Basting Spray and sticky gloves, and took a side trip making a few potholders, which also meant buying some Insul-Bright batting for heat shielding.
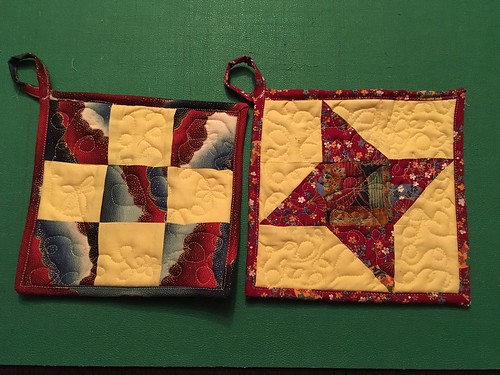
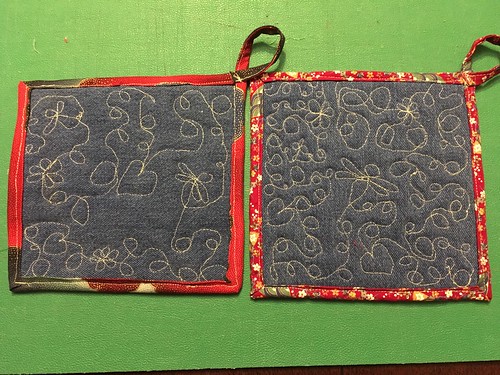
Potholders - front view

Potholders - back view

So, after all this procrastination, I spent some quality time on the living room floor getting the backing/batting/quilt top ready for quilting.  That 505 Basting Spray is excellent stuff - no need to pin or baste at all.
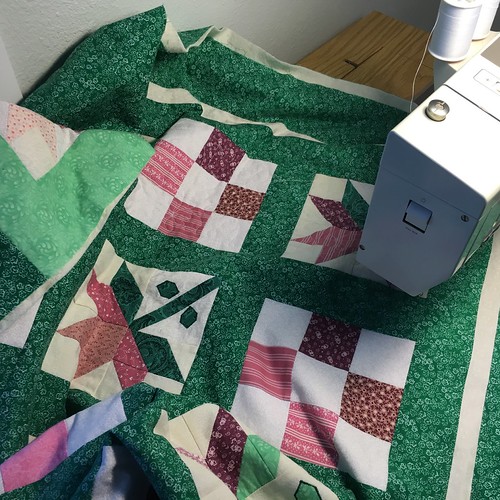
Quilting

First I quilted each block, then the sashing strips, then each border.  While it worked out, it did leave a lot of threads to hide afterward. (my sewing table surface has not been this uncluttered in years.)

After that I bound the edges with 200+ inches of binding (one side machine sewn, then the other side finished by hand).
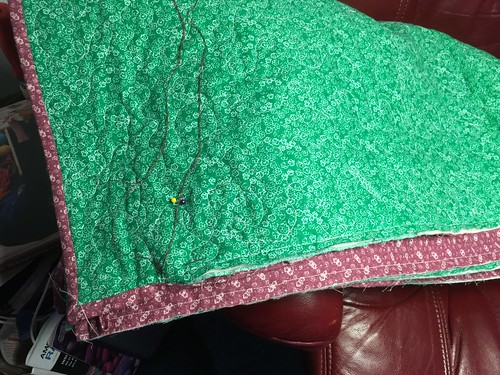
200+ inches of binding to be sewn

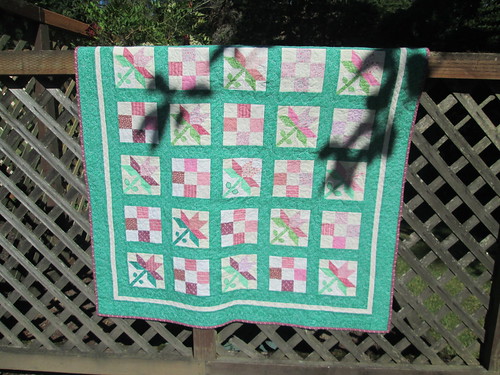
And here it is:

Front of quilt

Back of quilt

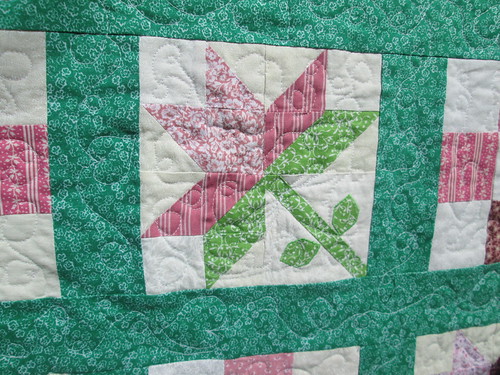
Lily block quilting detail

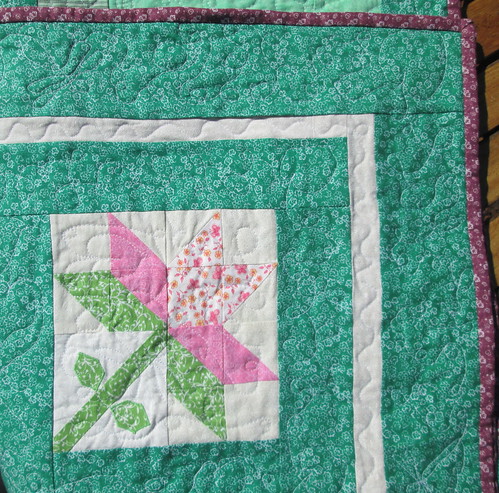
Block and corner quilting detail

(this isn't a surprise; they know it is coming)

Learnings (a project should always have learnings):

  • Half-square triangles.  Probably more practice needed for absolute perfection.
  • Non-skid fabric rulers.  I had purchased one in a useful size I did not have, and then discovered aftermarket non-skid film for my existing quilting rulers.  Discovery: I have many quilting rulers, because I finally collected them into one drawer.
  • Used my aftermarket 1/4" presser foot.  Maybe my needle is off-center a bit.  Maybe I need the Bernina 1/4" presser foot with the fabric guide (#57).  Or I could wing it with my #030, which accepts a fabric guide (which I have).  Oops, presser foot shopping happening.  Also succumbed to the siren call of the button foot (#18) and the upgraded basic foot (#1), which will also accept the fabric guide. In case anyone is wondering, I have a Bernina 930 sewing machine.  Old.  Solid.  Dependable.
  • Free-motion machine quilting.  This is fun.  Purchased the 505 basting adhesive spray, which meant that when I got it all together, the layers of fabric stuck together in a unit, no matter how much I scrunched it all around to quilt.  Also got the sticky fingertip gloves, so as to be able to move the fabric around.  This also lead to...
  • Insul-Brite batting, which I used for the potholders I made for free-motion quilting practice.  I used one layer of the Insul-Brite and one layer of cotton batting.  Next time, maybe I'll up that to two layers of cotton batting.  And make slightly smaller potholders.

Tuesday, June 28, 2016

Well, I Got In A Couple More Rides

and then had some (planned) minor surgery which had been postponed due to the unplanned major surgery at the beginning of the year.  So, off the bike for three weeks, which just ended today.

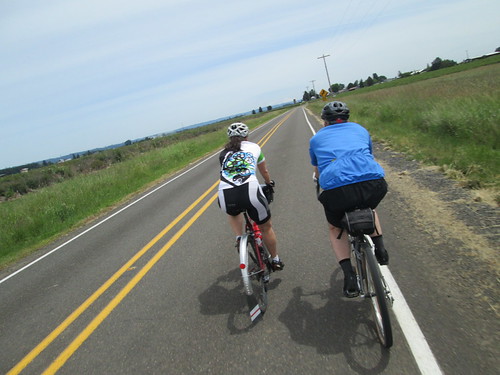
Two more outings on the NP-Banks Vernonia Trail perm pop (read all about how very cool this route is in your most recent American Randonneur!), once with Ray and Steve, and once with Ray and Susan.

Ray and Steve

Great weather both times, and, for the June outing, my quickest time since last July.  Not clear if it is because I am feeling better, or because the Lake Vernonia detour is finally finished, but I'll take it.

Susan and Ray

On June outing, there was also a bike swap around Lake Vernonia, because I wanted to give Susan's Wicked a spin.  We are just about the same height, and wear the same size shoes, so it is easy to do that.  I was also trying out a new saddle, and stopped to adjust it a couple of times.  It wants more setback than my current seatpost, so today I got another seatpost out of the parts bin and installed it (see also: couldn't lift heavy things until today either).

Saturday, June 4, 2016

Adding another Hobby

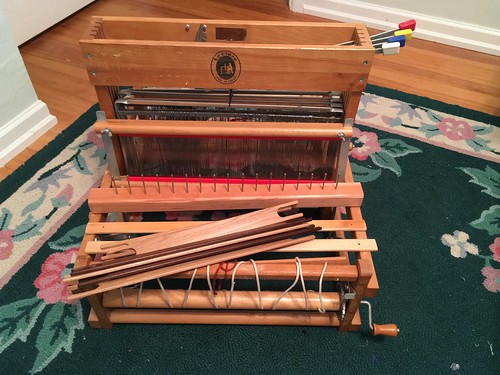
Because I don't have enough of them!  One of my fiber group (mostly knitting, but we've got quilters and embroiderers in the group) is destashing, and besides ending up with more yarn, fiber, and fabric, I also got her 4 harness table loom.

Restored Leclerc Dorothy table loom

After careful examination, it appeared that the reed was rusted beyond recovery, plus it had no lease sticks, shuttles, or a raddle (you get to look up all these terms).

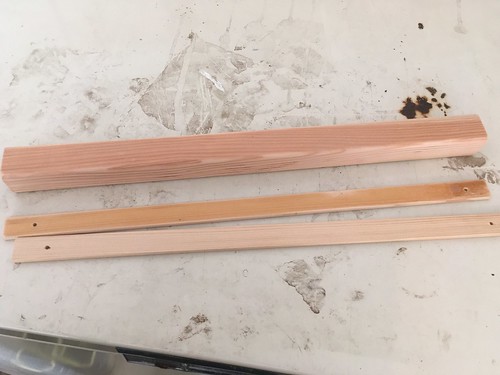
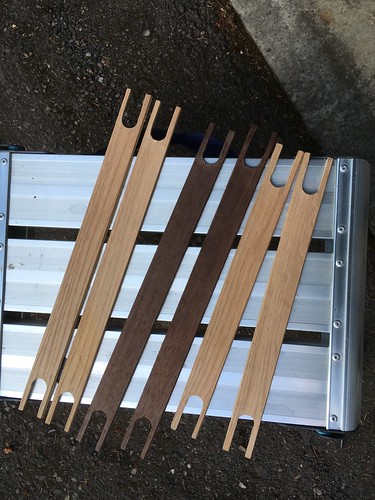
While I had to buy a new reed, all the other pieces are fairly basic rectangular/oblong pieces of wood, some with openings at each end, some with nails spaced every inch.  After consultation with the resident woodworker, and researching what each piece should look like, he found some nice scraps in the garage (fir, oak, and black walnut), and cut everything out.

Raddle and lease sticks - random fir scraps, I think

Stick shuttles, rough sanded.  Oak and black walnut

I sanded and finished (Deft spray on laquer.  Quick drying, looks nice).  Then holes were drilled for the nails on the raddle (nails in drawer in shop area), a bit more sanding and finishing, nail installation, and I had all the pieces for successful loom use.

In the time it took to get to this place, my SIL's friend told me I should take the scarf weaving class at Multnomah Arts Center.  It appears that one does not need to be a Portland resident, so I signed up.

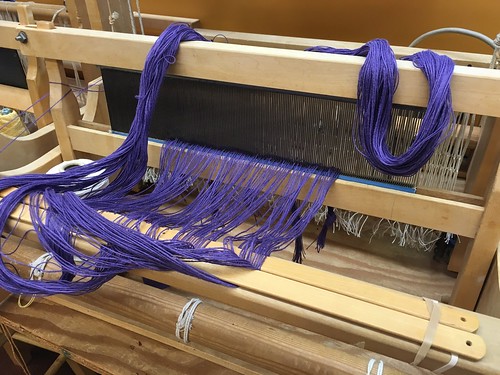
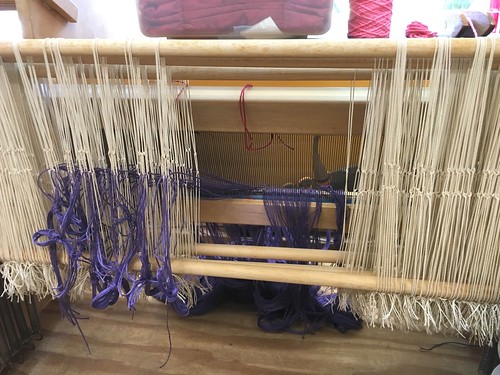
Weaving class - sleying the reed

Weaving class - threading the heddles.

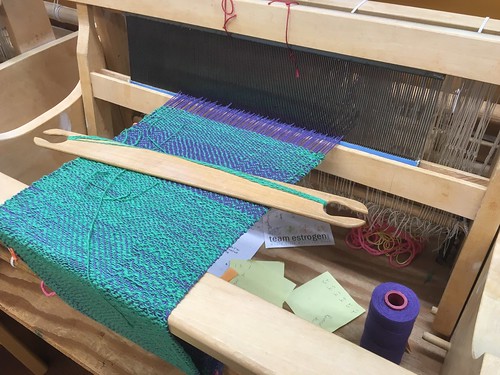
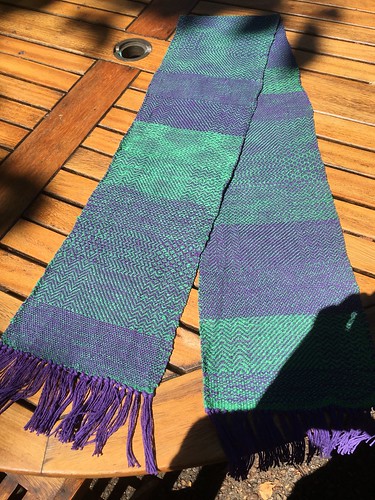
It was great fun!  We learned how to make a warp, dress the loom, and then, finally after all that (it took almost 2 3-hour classes to get there), weave!  The scarf is really a sampler, 9 inches wide, with different threadings for each 3 inches.  We'd weave for three inches, and then change to a different treadle order, so we could see the different weave structures.

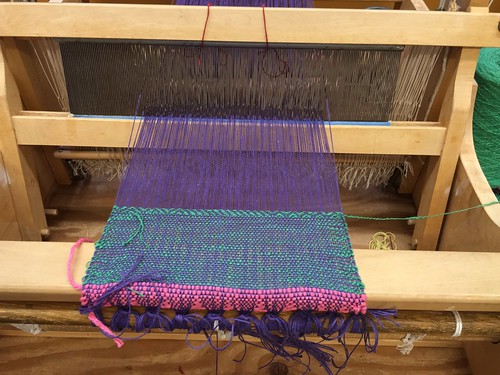
First Weaving!

Moving along, first 15 inches

I had to go in a couple extra times to keep up - here I was thinking I was the slowest weaver ever, but it turned out my weft was thinner than everyone else's.  So I had to weave longer to get the same length of cloth done.

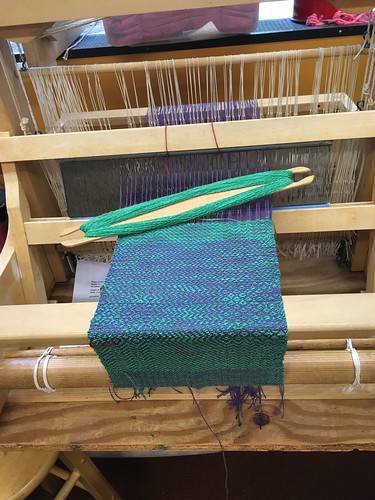
Playing Warp Chicken in weaving class

Woven sampler scarf

(Bicycle tie-in - I'd ride over to the Multnomah Art Center.  It is a fairly straightforward route, at least for me.  The center is a couple of blocks from the start of the Solstice Ride.  Multnomah Blvd is trivial to ride up when one doesn't have 200k ridden through the night, first.)

Now I am trying to figure out what to weave on the loom at home.  Dishtowels seem a good exercise, although my maximum weaving width is 15.75".  I think it will work.