On the other hand, a quilt can last a very long time. I used to make baby quilts - well, I'd make proper pieced quilts in a smaller size :-) - but when nieces and nephews stopped arriving, it fell by the wayside.
The first of those quilts is now 20 years old, the fabric is shredding, and it is still in use.
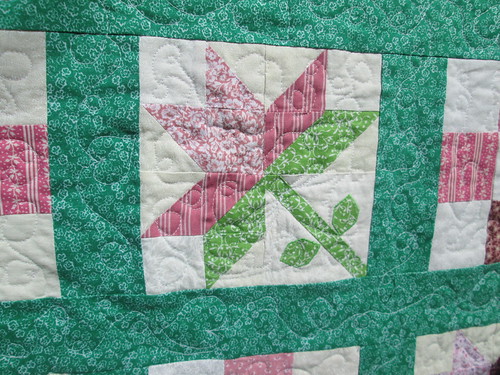
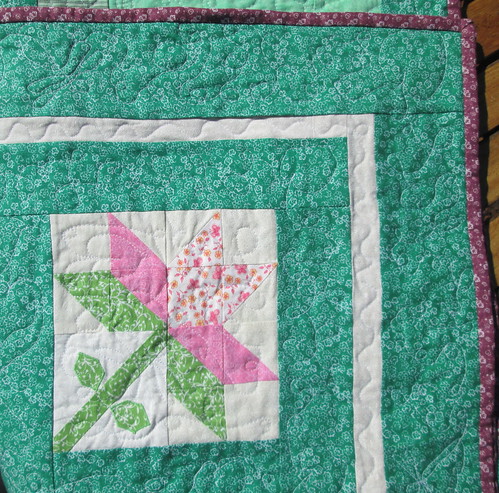
Given that this little girl is named Lily, I started hunting around for a Lily-themed quilt block. I found this one, and thought it would work out.
Rummaged through the fabric stash and drew up the pattern. It had lots of half-square triangles, which are kind of fussy. The seams have to be perfect for the little points to come out correctly, and it is easy to make a mistake getting all the little bits assembled.
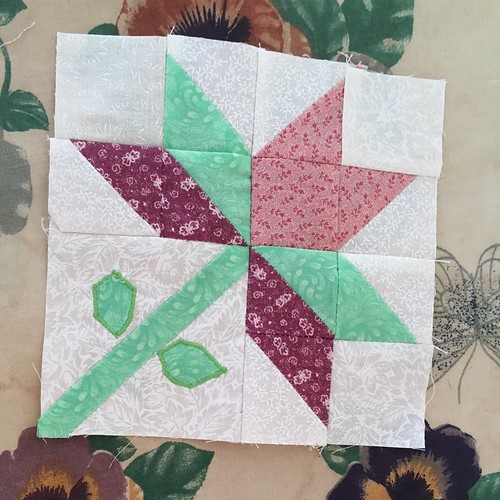
I pulled out all my pinks/purples for the flower and the greens for the stem and leaves. I was trying to not repeat the flower color combination in any block, so eventually I raided another stash for more pinks and purples. (What? Buy fabric? I have too much already!)
The original quilt plan looked like this (yay Visio!):

I was planning to have the blocks go from light flowers in the upper right corner to dark flowers in the lower left corner. After making up all the blocks, I thought the pink blocks in the sashing and binding might be a little much, so went with solid green. I did have to buy green fabric for the sashing, borders, and backing.
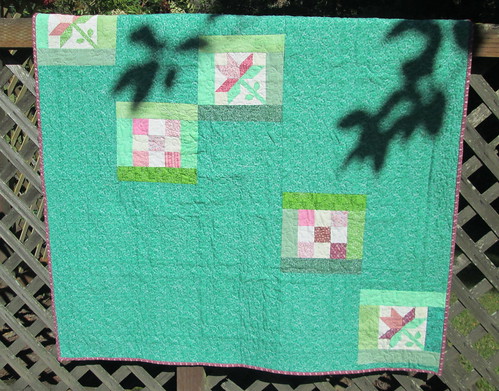
There was not quite enough green for the back, so I pieced it out with a few more quilt blocks.
Then there was the question of how to quilt it. The design didn't lend itself to straight diagonals; sewing through the centers of the lily blocks wouldn't go well.
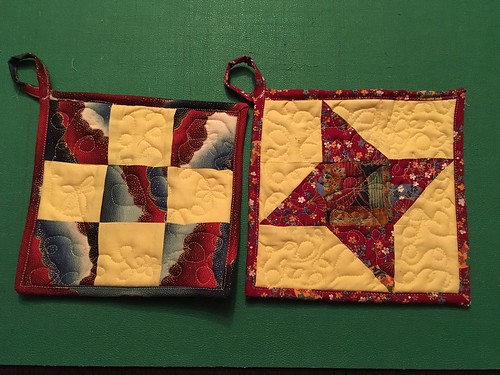
I started researching free-motion machine quilting, bought the 505 Basting Spray and sticky gloves, and took a side trip making a few potholders, which also meant buying some Insul-Bright batting for heat shielding.
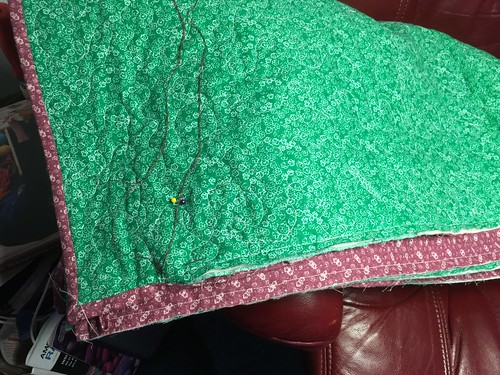
So, after all this procrastination, I spent some quality time on the living room floor getting the backing/batting/quilt top ready for quilting. That 505 Basting Spray is excellent stuff - no need to pin or baste at all.
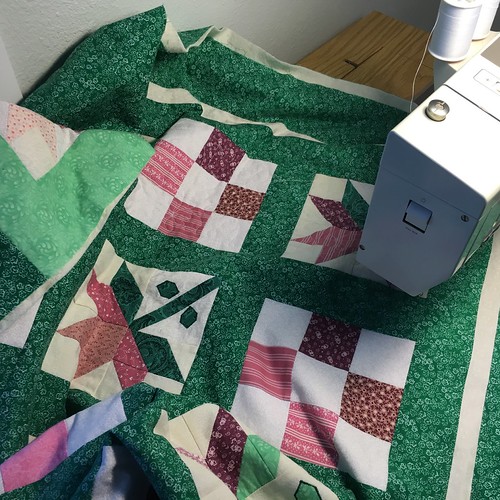
First I quilted each block, then the sashing strips, then each border. While it worked out, it did leave a lot of threads to hide afterward. (my sewing table surface has not been this uncluttered in years.)
After that I bound the edges with 200+ inches of binding (one side machine sewn, then the other side finished by hand).
And here it is:
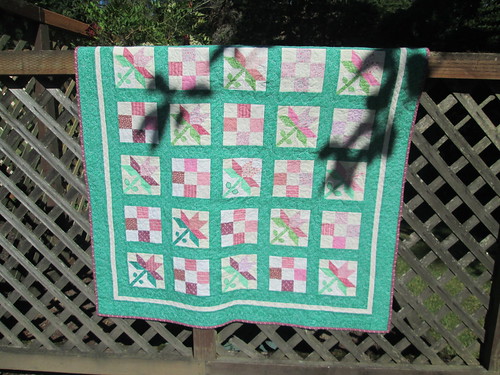
(this isn't a surprise; they know it is coming)
Learnings (a project should always have learnings):
- Half-square triangles. Probably more practice needed for absolute perfection.
- Non-skid fabric rulers. I had purchased one in a useful size I did not have, and then discovered aftermarket non-skid film for my existing quilting rulers. Discovery: I have many quilting rulers, because I finally collected them into one drawer.
- Used my aftermarket 1/4" presser foot. Maybe my needle is off-center a bit. Maybe I need the Bernina 1/4" presser foot with the fabric guide (#57). Or I could wing it with my #030, which accepts a fabric guide (which I have). Oops, presser foot shopping happening. Also succumbed to the siren call of the button foot (#18) and the upgraded basic foot (#1), which will also accept the fabric guide. In case anyone is wondering, I have a Bernina 930 sewing machine. Old. Solid. Dependable.
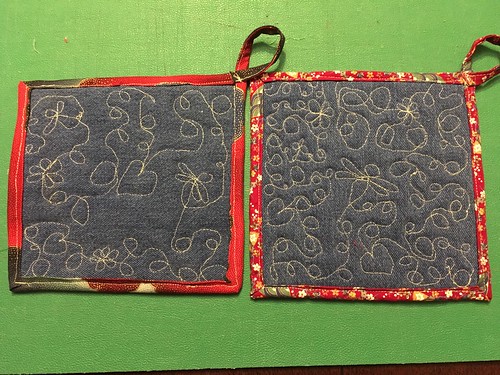
- Free-motion machine quilting. This is fun. Purchased the 505 basting adhesive spray, which meant that when I got it all together, the layers of fabric stuck together in a unit, no matter how much I scrunched it all around to quilt. Also got the sticky fingertip gloves, so as to be able to move the fabric around. This also lead to...
- Insul-Brite batting, which I used for the potholders I made for free-motion quilting practice. I used one layer of the Insul-Brite and one layer of cotton batting. Next time, maybe I'll up that to two layers of cotton batting. And make slightly smaller potholders.

No comments:
Post a Comment